Squeezebox Keyboard v2209
I have completed a new revision of the Squeezebox Keyboard - v2209.

Some quick project history checkpoints
- April 2021: First fully functional squeezebox prototype, v2104, is built
- Slots for column stagger adjustment are on the keywells
- Keywells mounted onto sawtooth wall for tailor fit height
- No splay
- Used flat (no tenting)
- 45 keys: 3x5 finger matrix plus a 6-key (!) thumb cluster
- Printed on green PLA
- June 2021: v2105 is done
- Mounted on tenting stands
- Slots for column stagger adjustment remain on the keywells
- Splay supported with steel base plate and magnets in the keywell posts
- Component based design where each keywell can be tested individually as a working keyboard
- Hot swap sockets incorporated
- December 2021: v2112 is done
- Slots for column stagger moved to the base plate
- Splay adjustment handled by grid of slots on the base plate
- Tried some different connectors for wiring across the columns
- Printed in red and black PLA and looks pretty snazzy (still spaghetti wires visible though)
- February 2022: Squeezebox v2112 becomes my daily driver, replacing the TBK Mini
- April 2022: Built narrow index keywells with chopped choc switches
- September 2022: Hit personal record 85 WPM with 99% accuracy on v2112
Driving Factors beyond previous version
The previous build, v2112, has been my daily driver since February 2022. The build is holding up fine mechanically. It feels very comfortable and my typing speed and accuracy are in the general vicinity of my personal record on any keyboard ever. It's not very consistent, but I can regularly hit 85 WPM with good accuracy on a 1-minute monkeytype test including uppercase and punctuation.
Below I'll outline the various goals I had for the v2209 revision.
No inner reach column for index fingers
I'm noticing that reaching inward for the index inner neighbor column I tend to move the whole hand a bit not just the finger and it throws my home position off. So I wanted to try a layout without any sideways reaching and giving more work to index and middle fingers and continuing to reduce work on the pinky. Thus I wanted to build a 1x4 keywell with chopped choc switches to try to get 4 switches crammed into a radius that can still easily be reached without moving the hand forward. I call this "stay in your lane" layout.
No pinky top column
I noticed a similar issue when I had to reach for the top switch on my pinky column, so I wanted to reduce the pinky to just the "home corner" 2 switches.I felt OK leaving 3 switches for the ring finger and by coincidence that just happens to be 13 switches per hand so 26 for all the fingers which is the length of the English alphabet and I dig that.
Chopped Choc for very tight spacing
Now that I had experience successfully slicing about 1/3 of the material off of a Kailh Choc switch (the bits dealing with LEDs), I wanted to incorporate that into the main keywell so I could fit 4 keys under a finger and have them be easy to reach.
(Dearest Internet Commenters: Safety Goggles were worn during the operation of this power tool. Chill.)
Choc Minis for shorter actuation travel
I still am searching for the shortest available actuation travel. The discord community is pretty convinced that actual laptop switches are very difficult to solder into DIY projects, which is a bummer. So the only switch I have identified which I can actually buy with less travel than the current Kailh Choc v2 is the Kailh Choc Mini PG1232. This switch has just a tiny bit less actuation travel, so I bought a bunch of linear blacks.
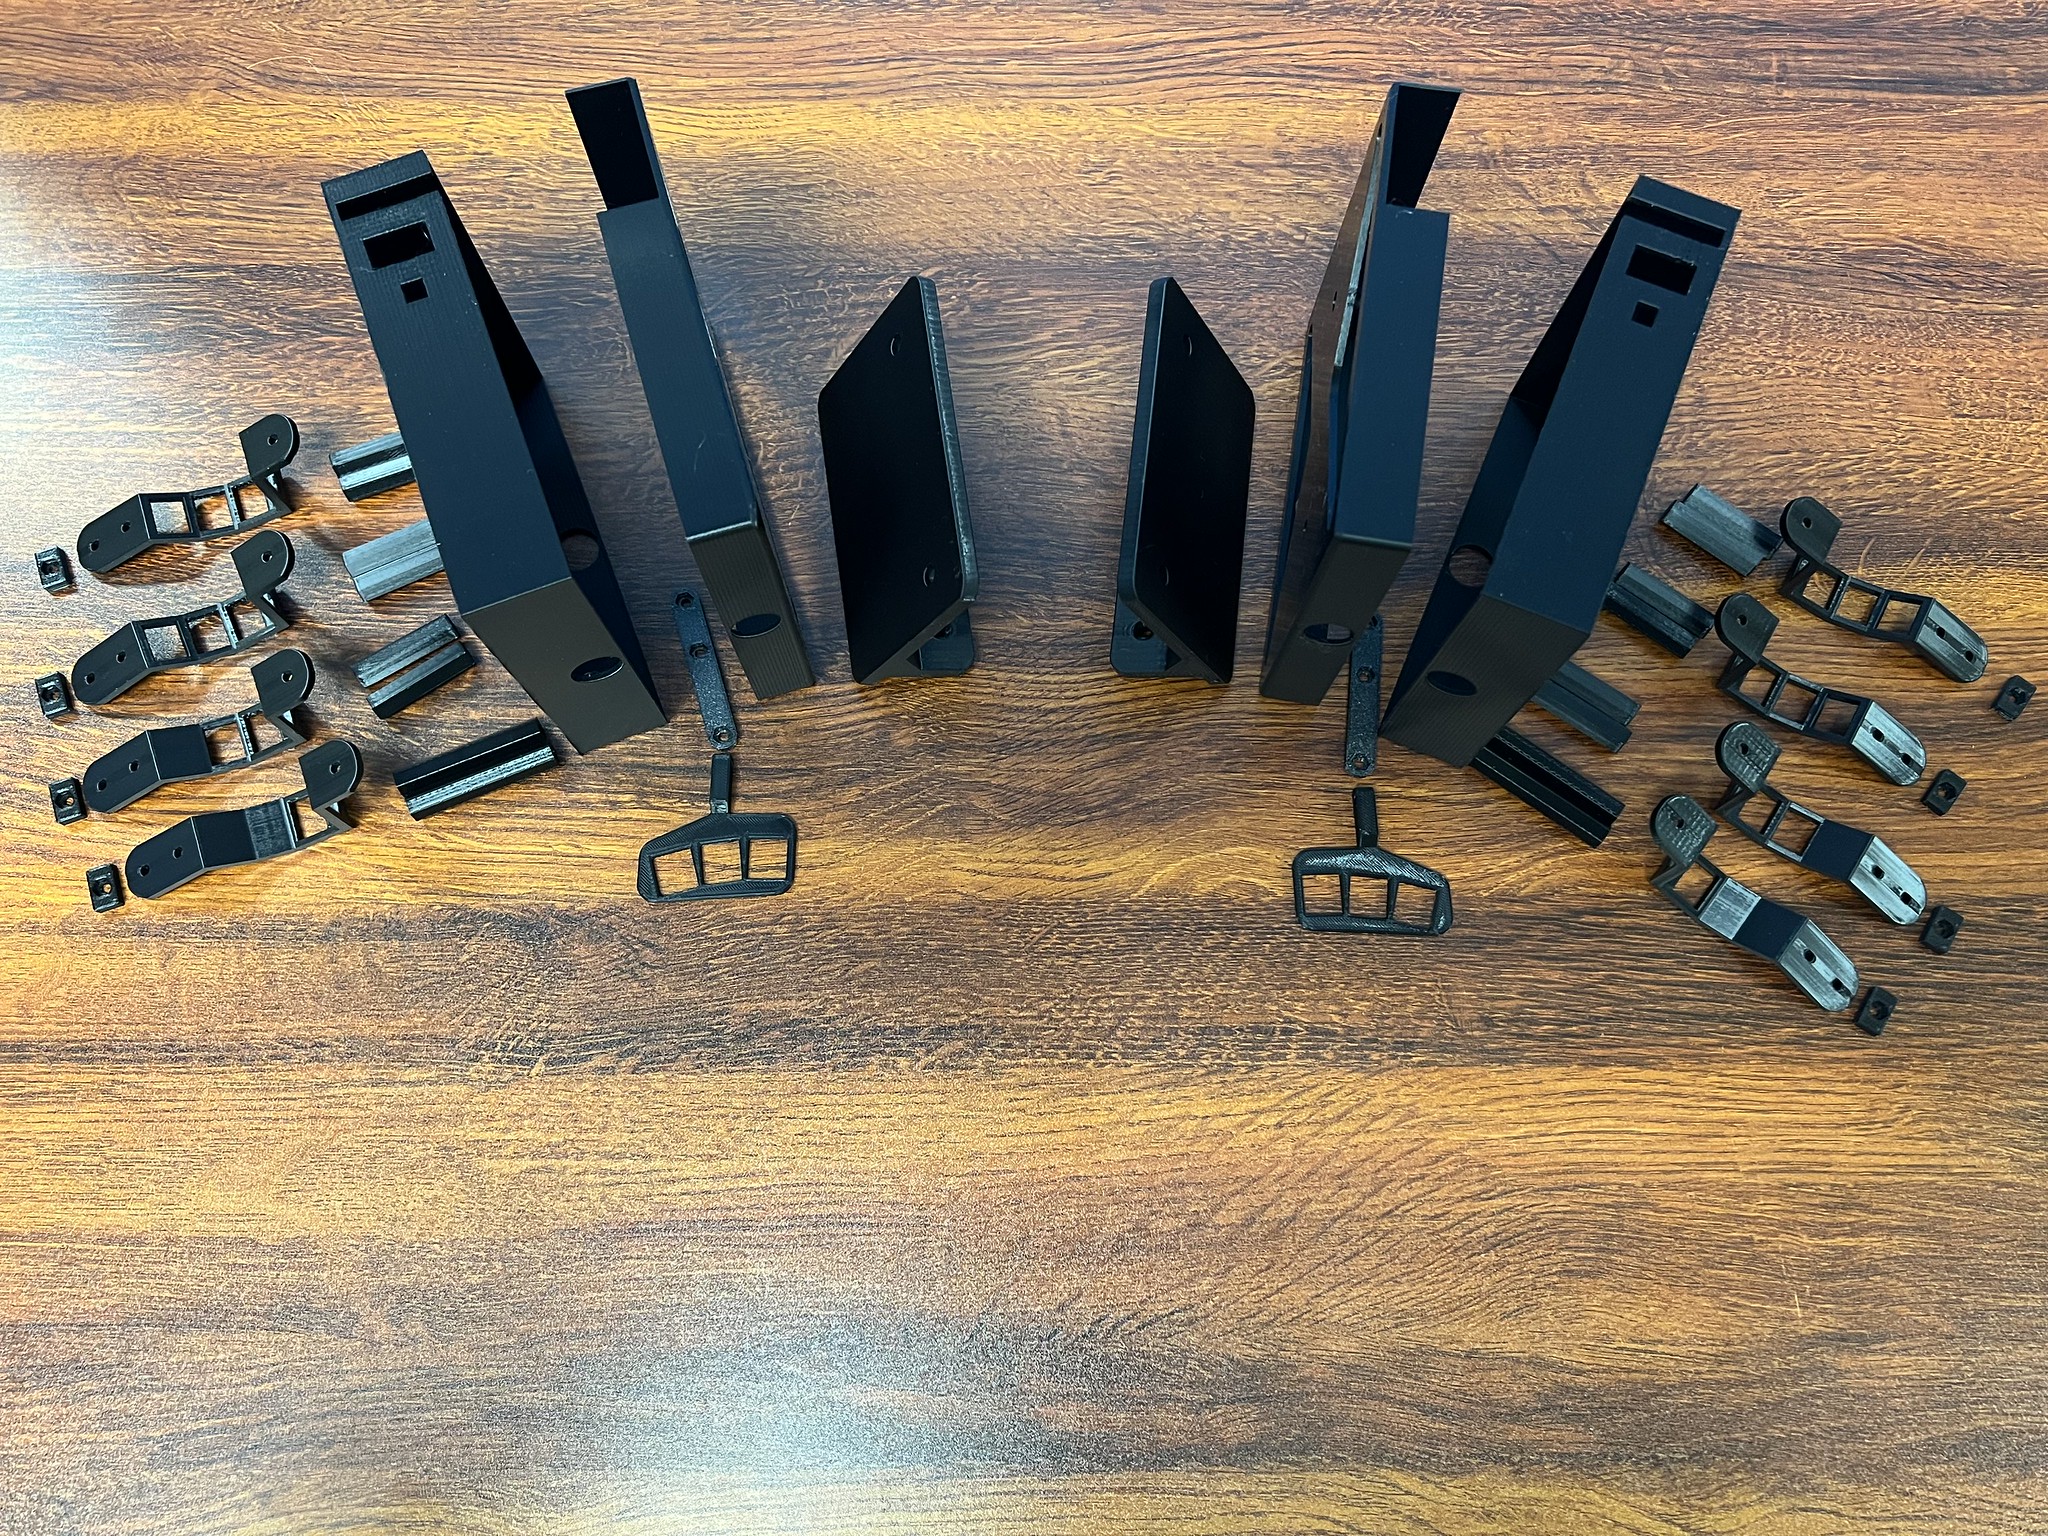
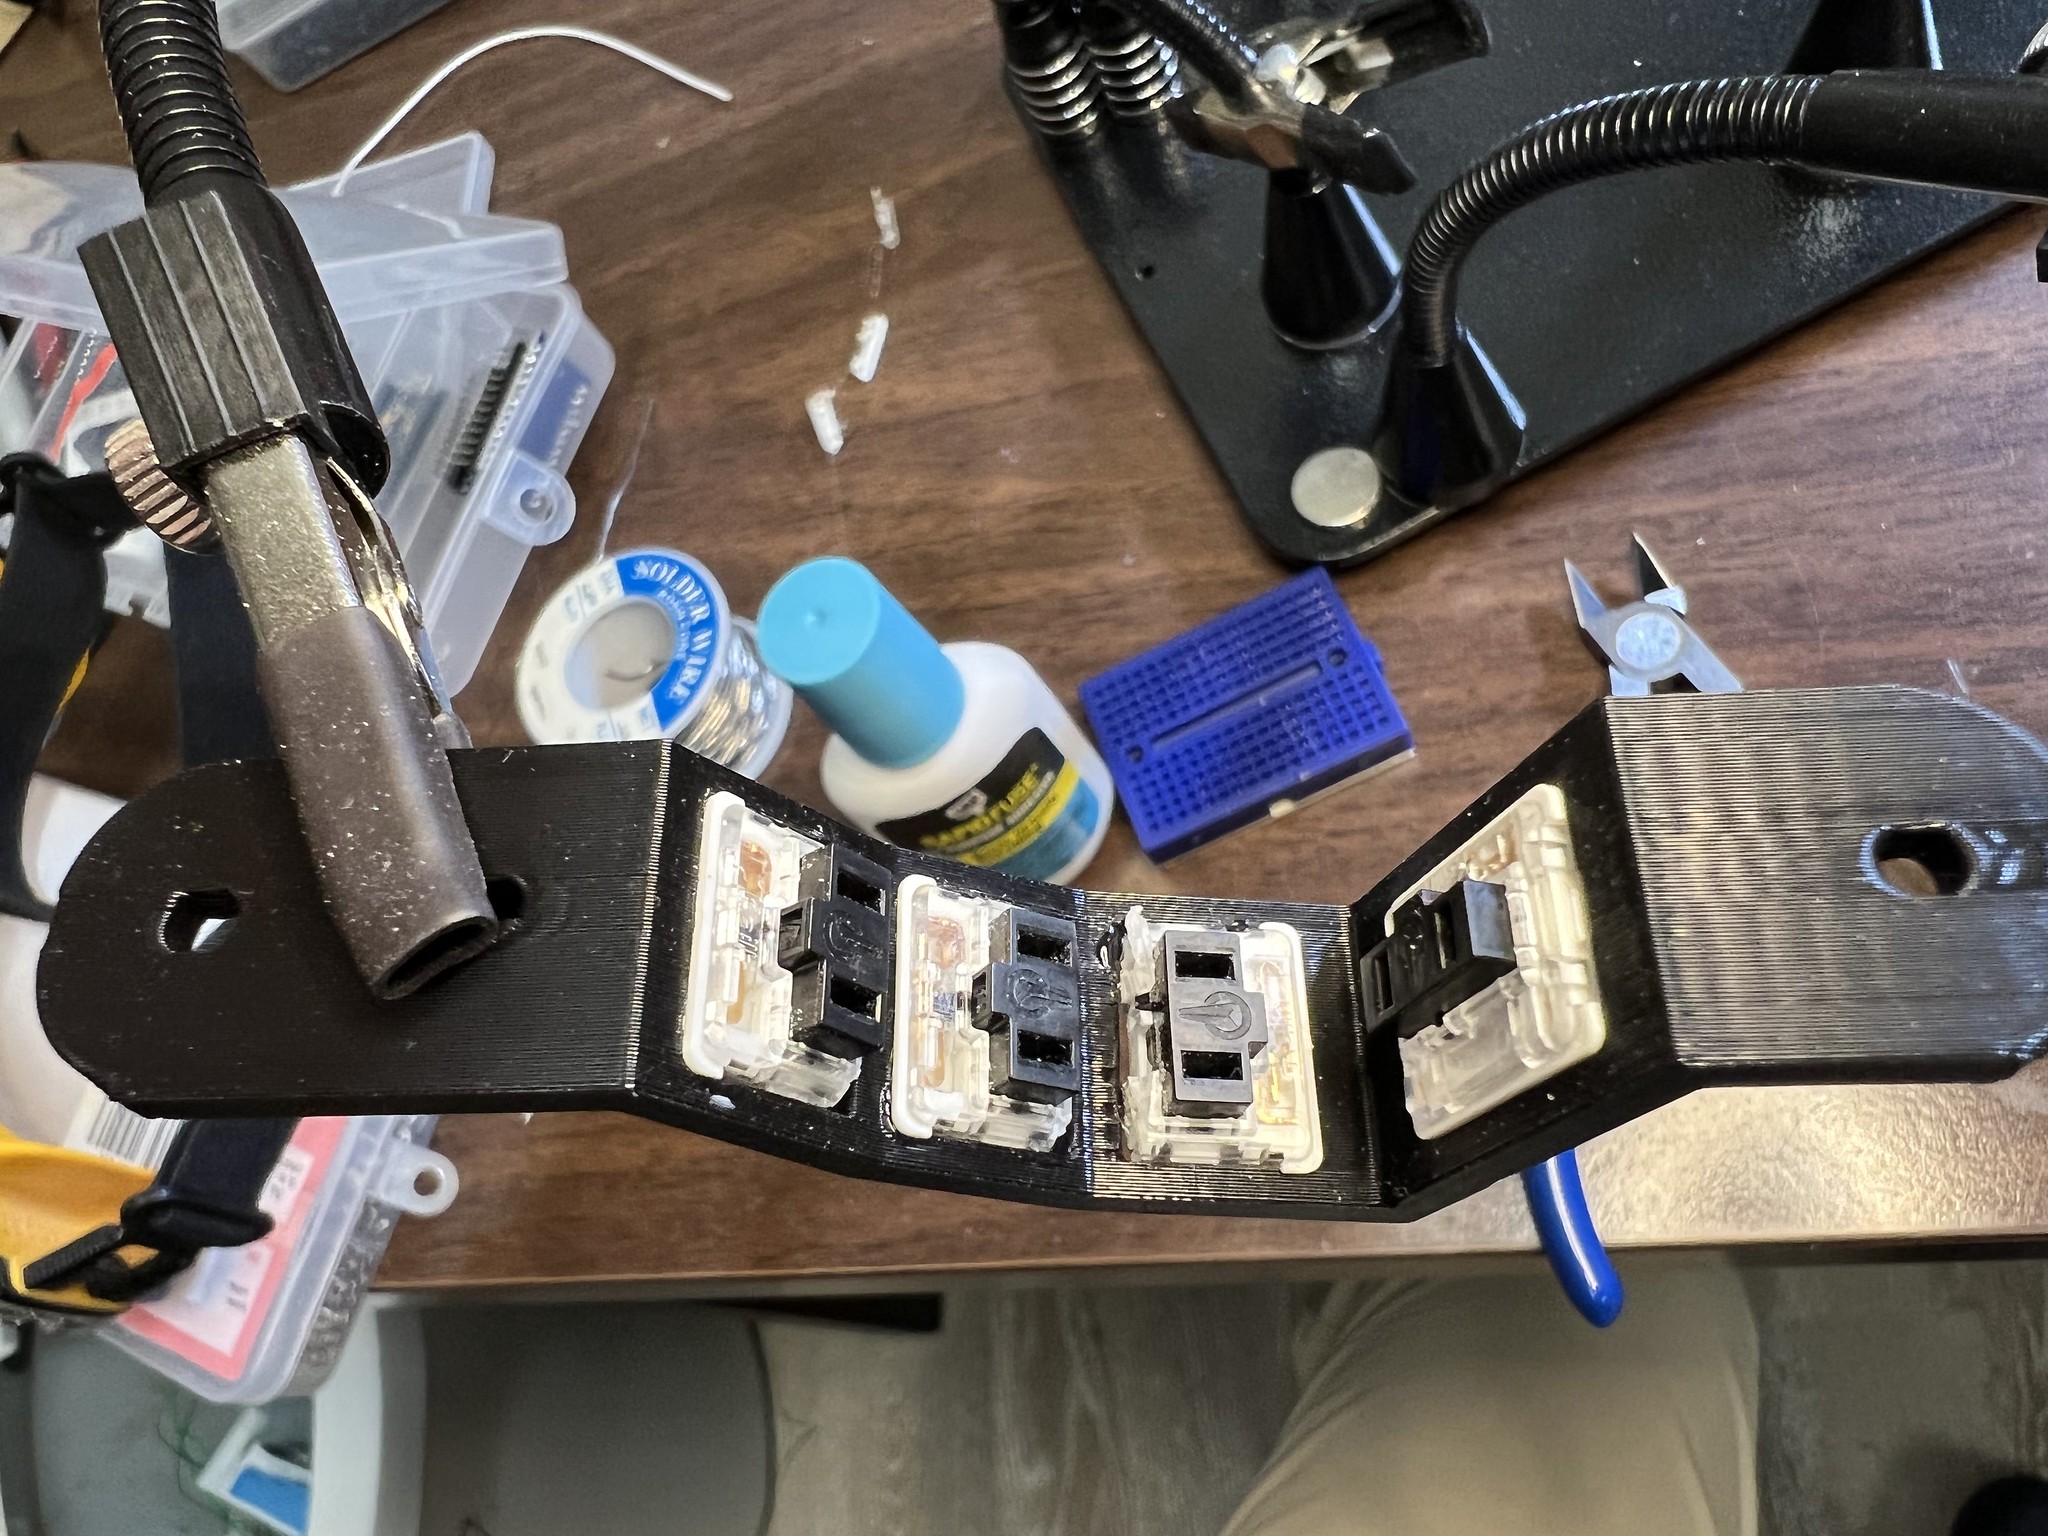
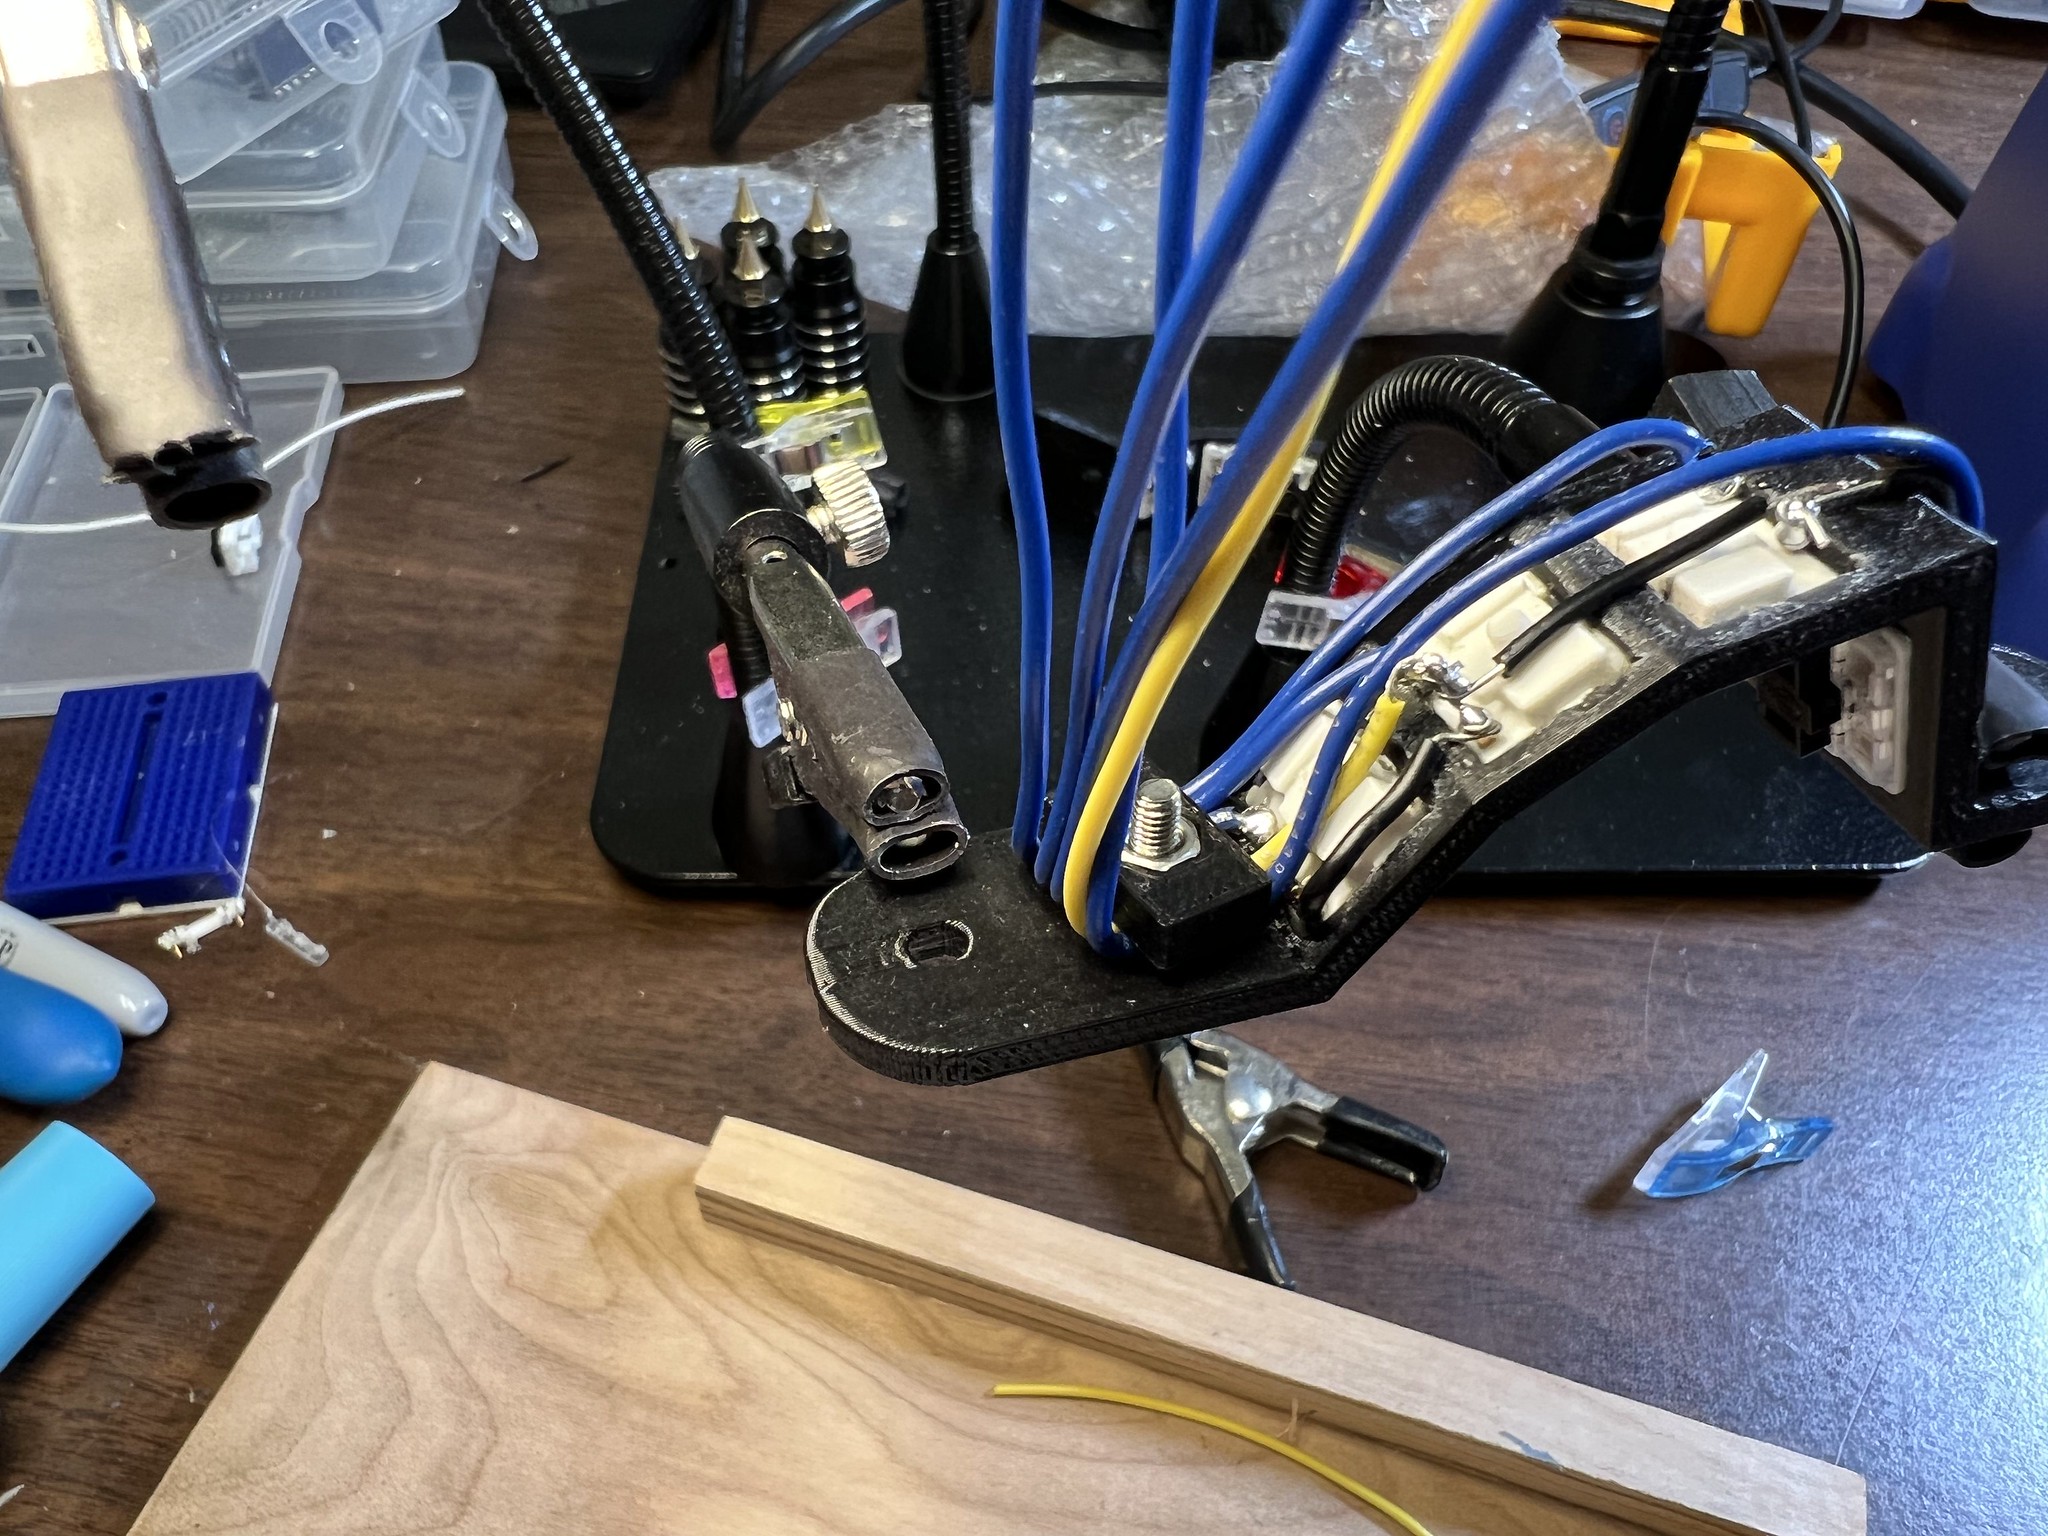
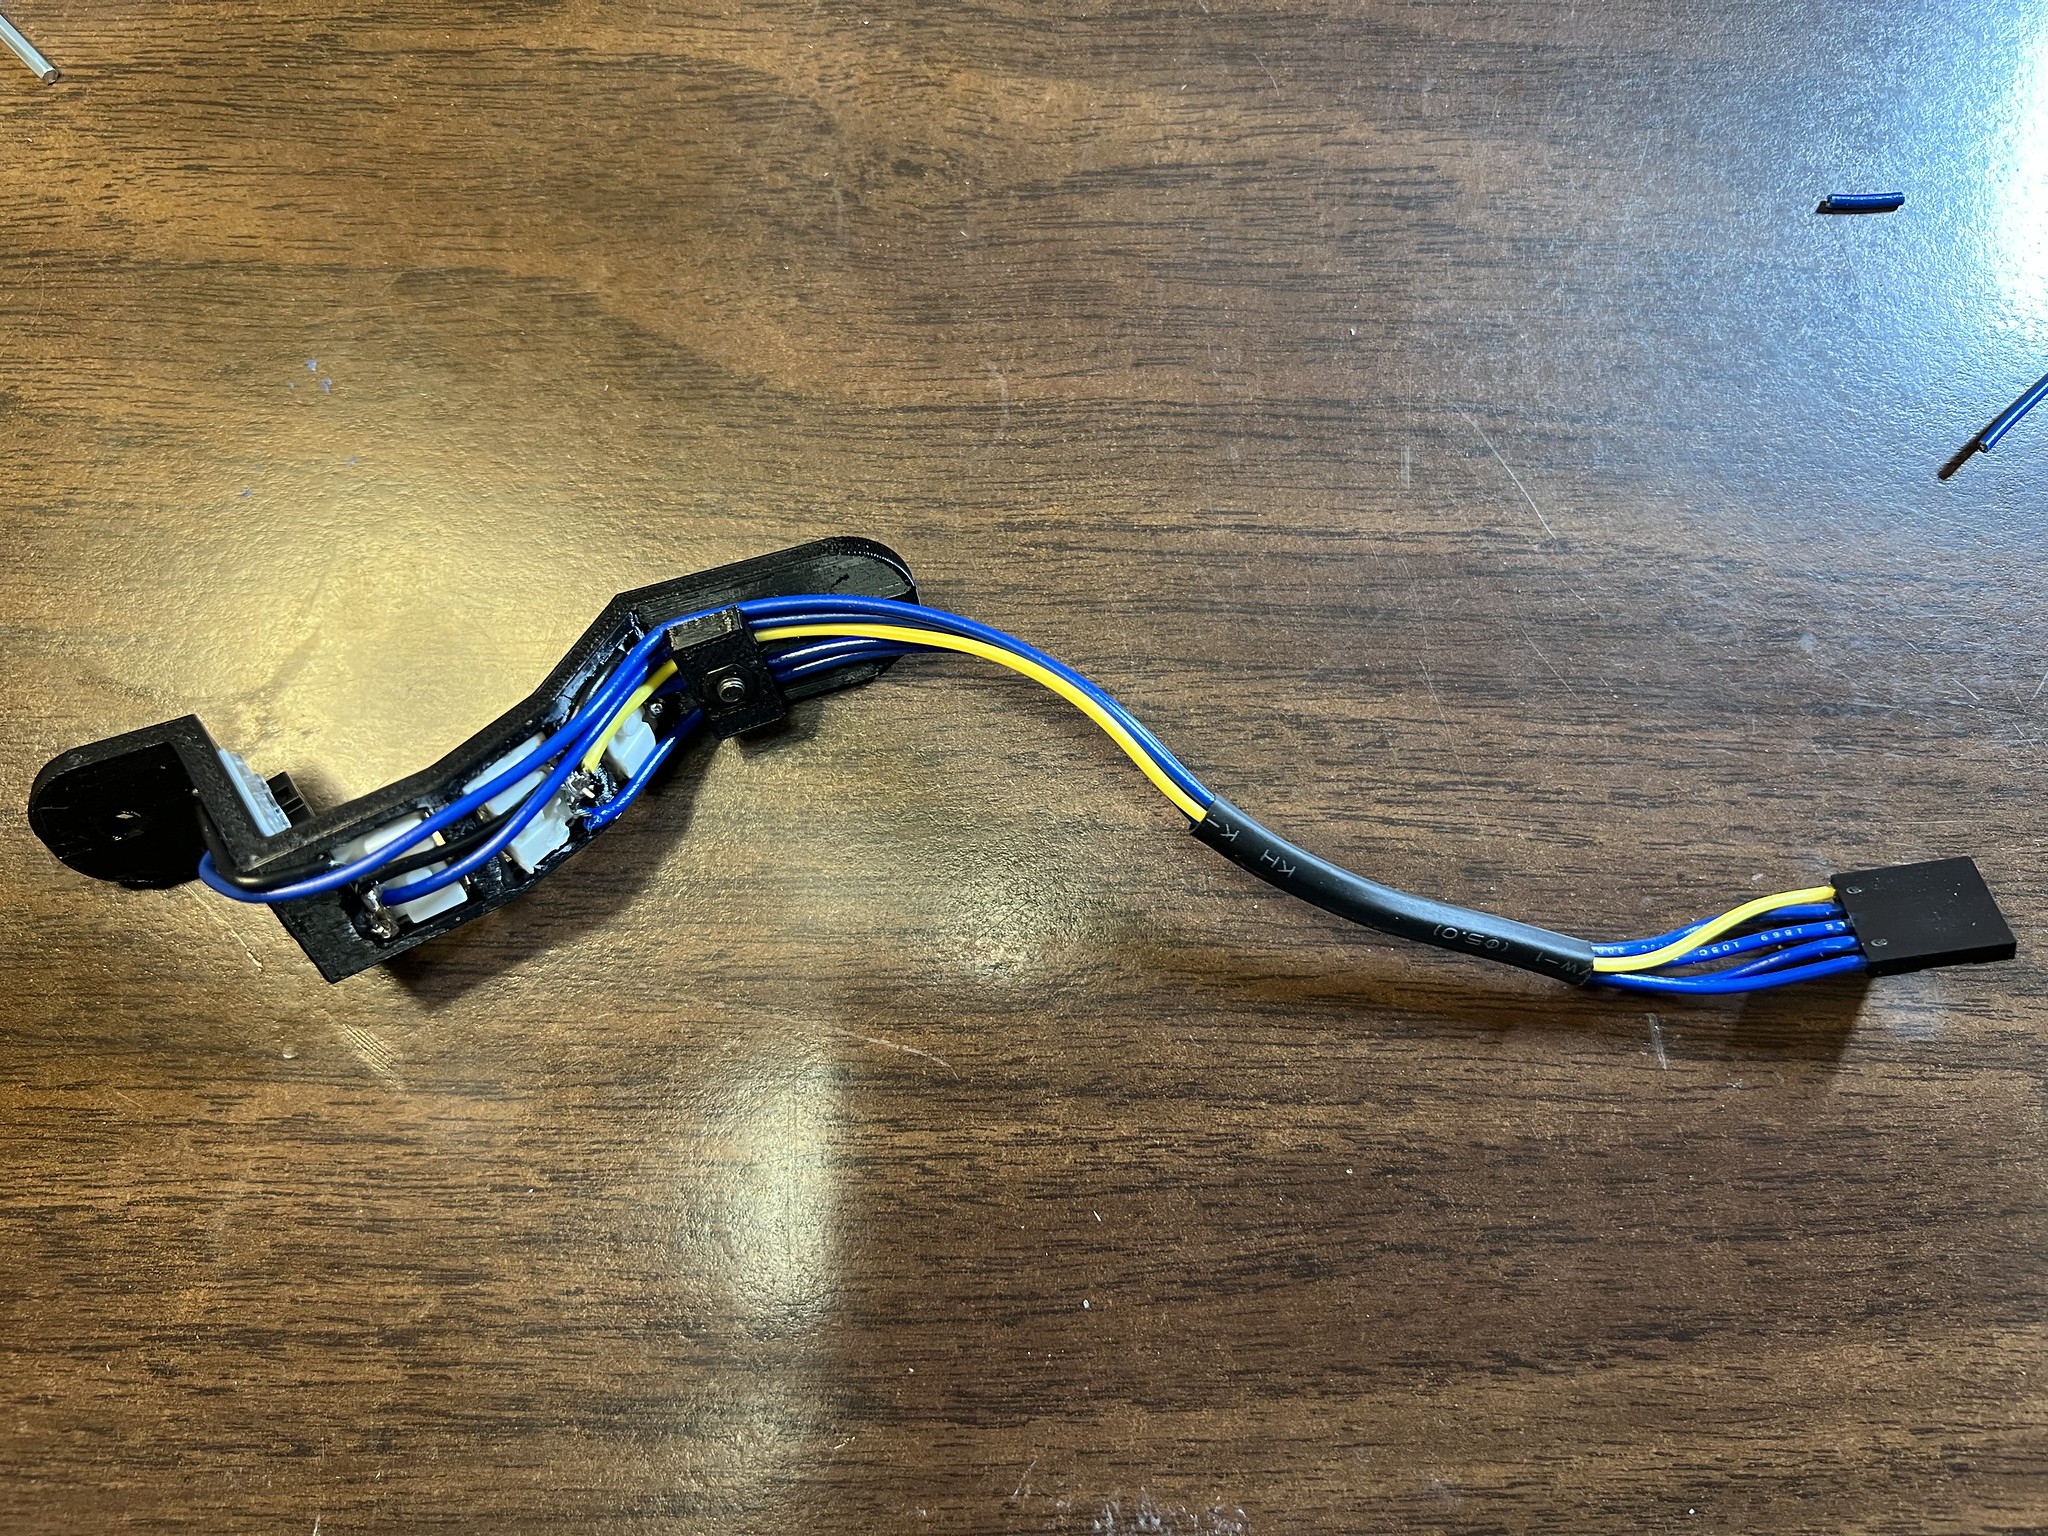
Strain Relief for the Wiring
I added some simple bolted strain relief bars to the keywells. These actually work great despite being dead simple. Pulling on the wires won't break the solder joints. Really pleased with these.
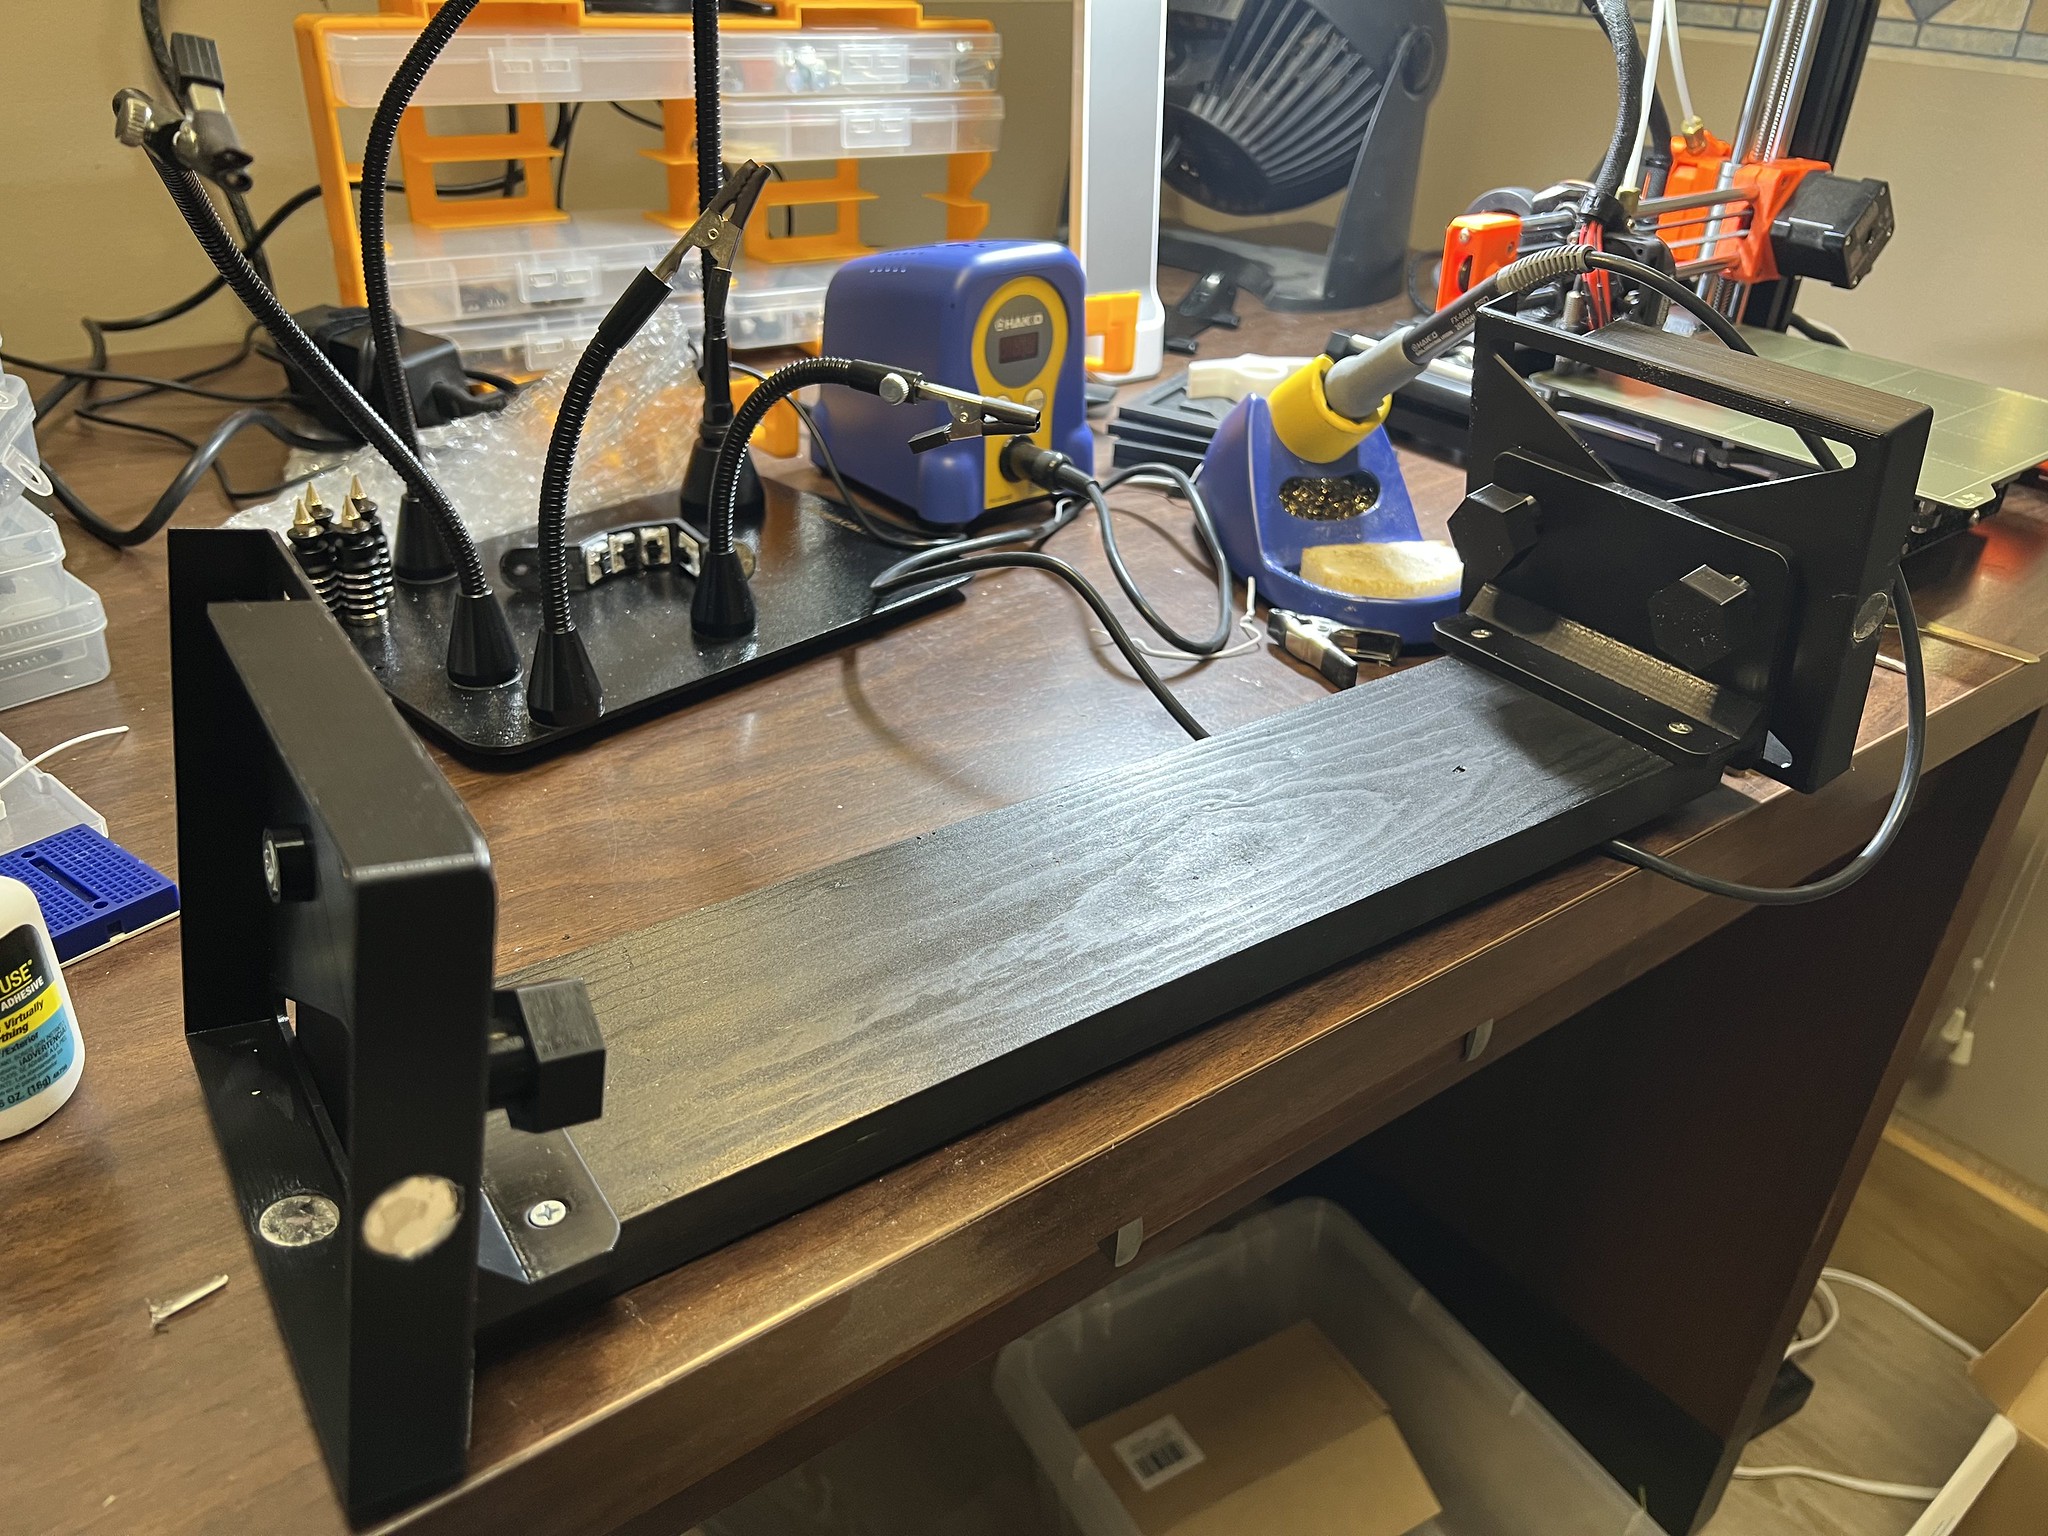
New Tenting Mount
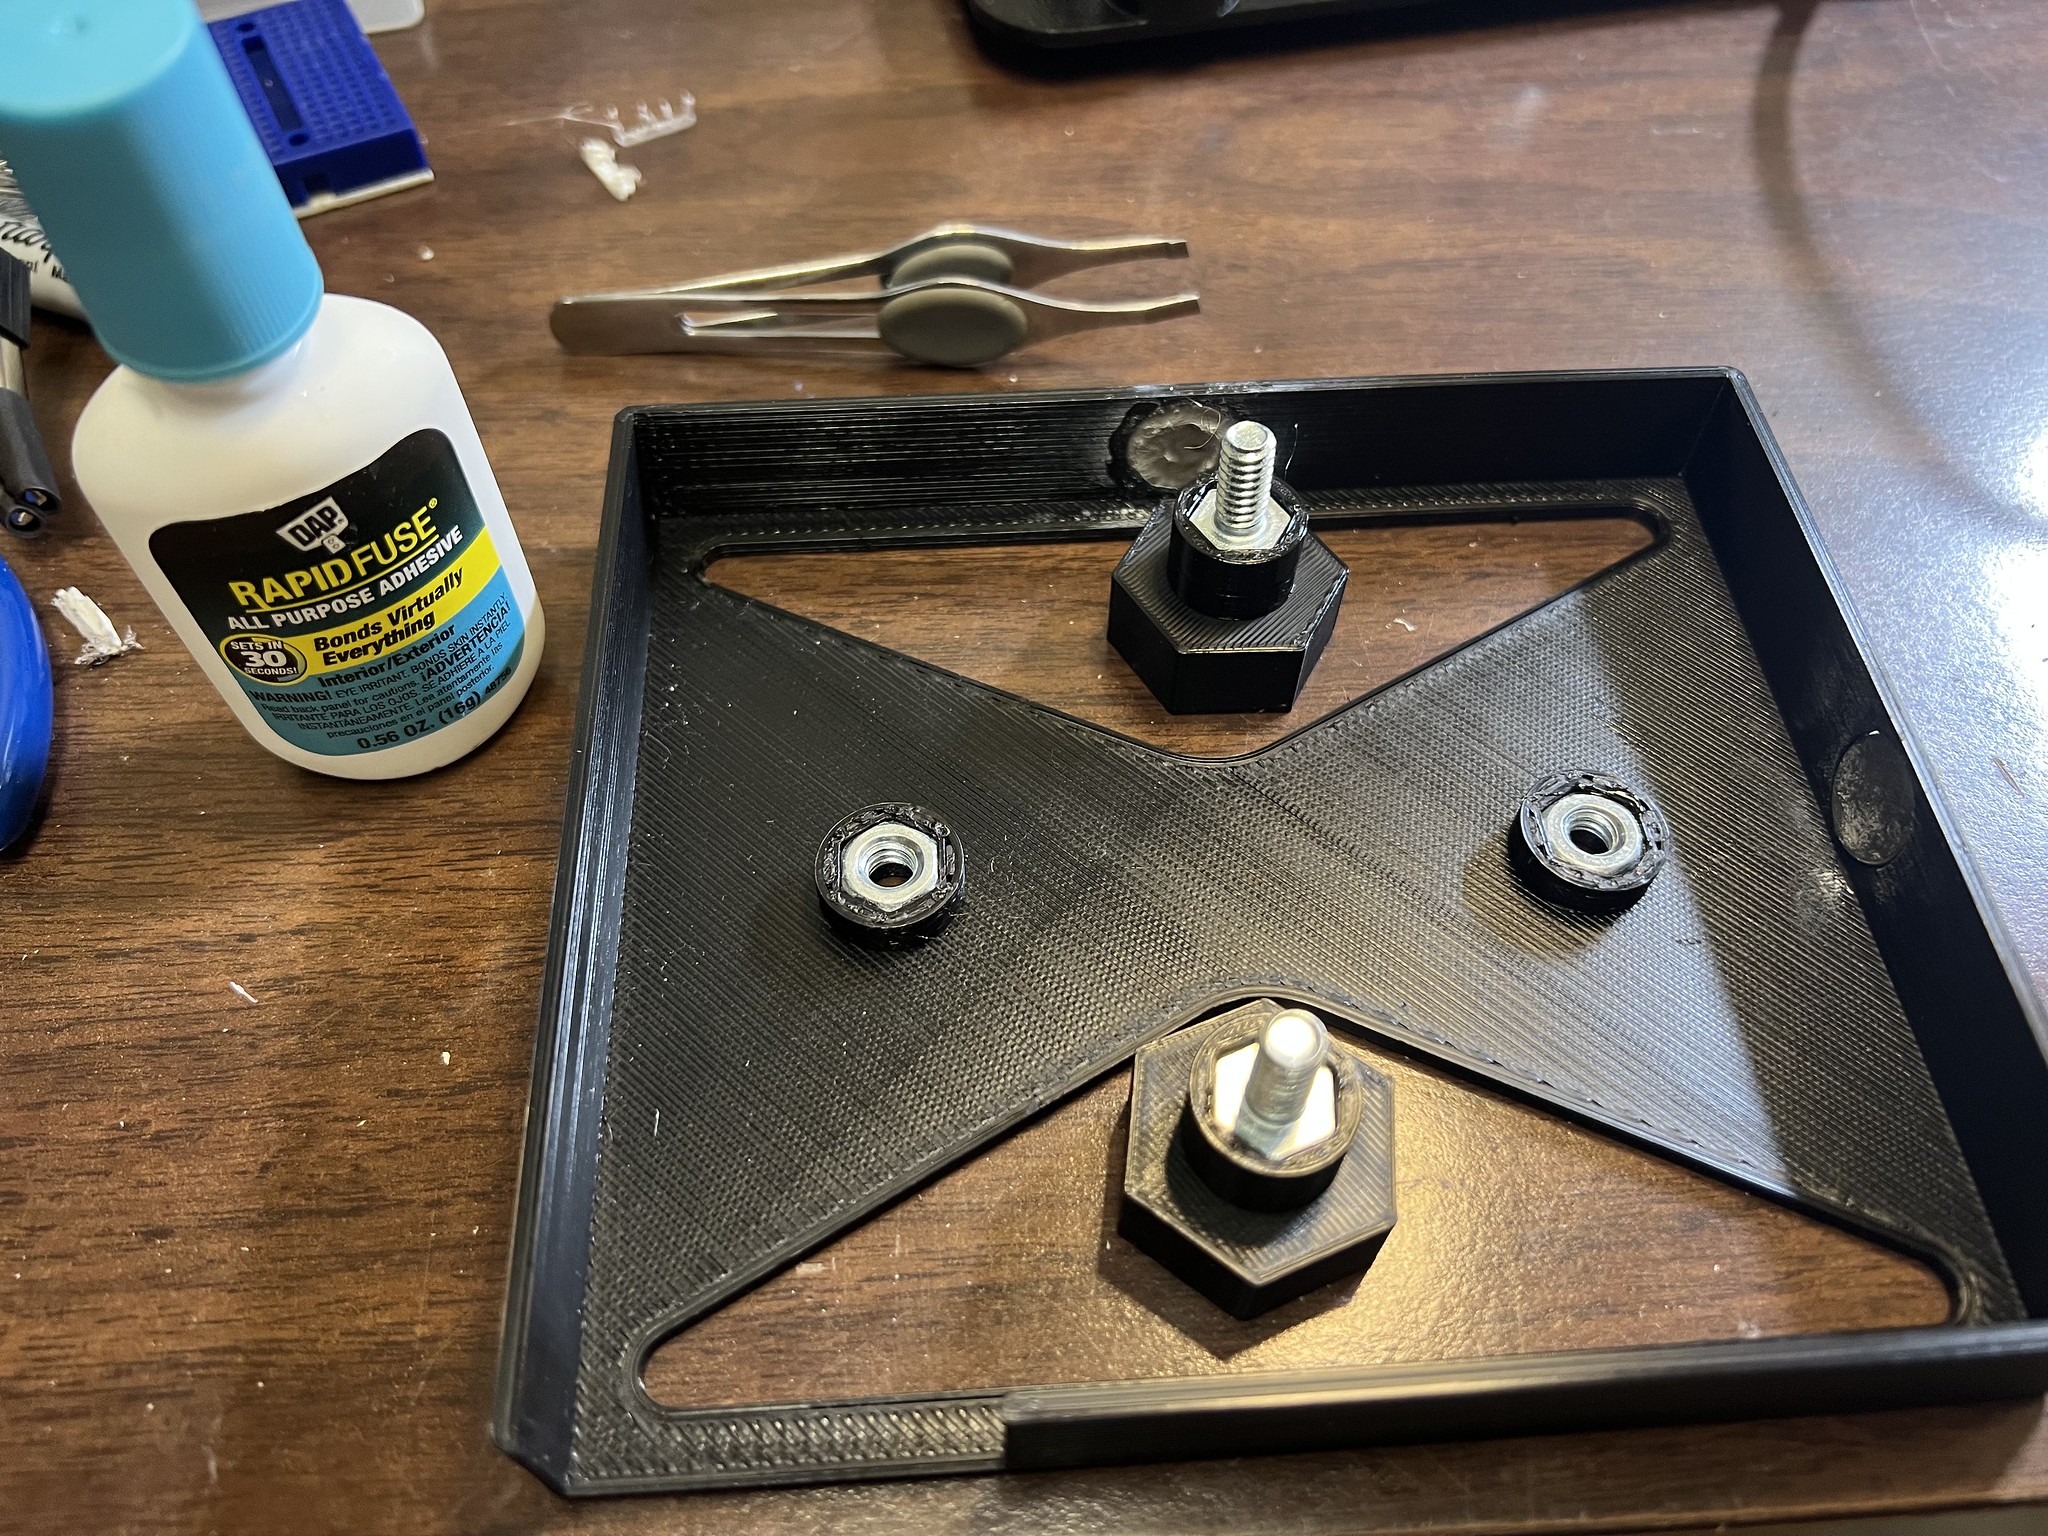
Using v2112, I got tired of the camera z-stands wanting to slide around on the desk, so I built a wooden stand for them. I carried this idea forward but I wanted to 3D print more of it and just have a single flat board be the bulky wood part. So I designed some 80° tenting mounts and assembly such that they can screw onto the stand and the Squeezebox bottom case can bolt onto them with 1/4-20 bolts. I also printed some bolt hex handles so the bolts can be tightened by hand without a wrench.
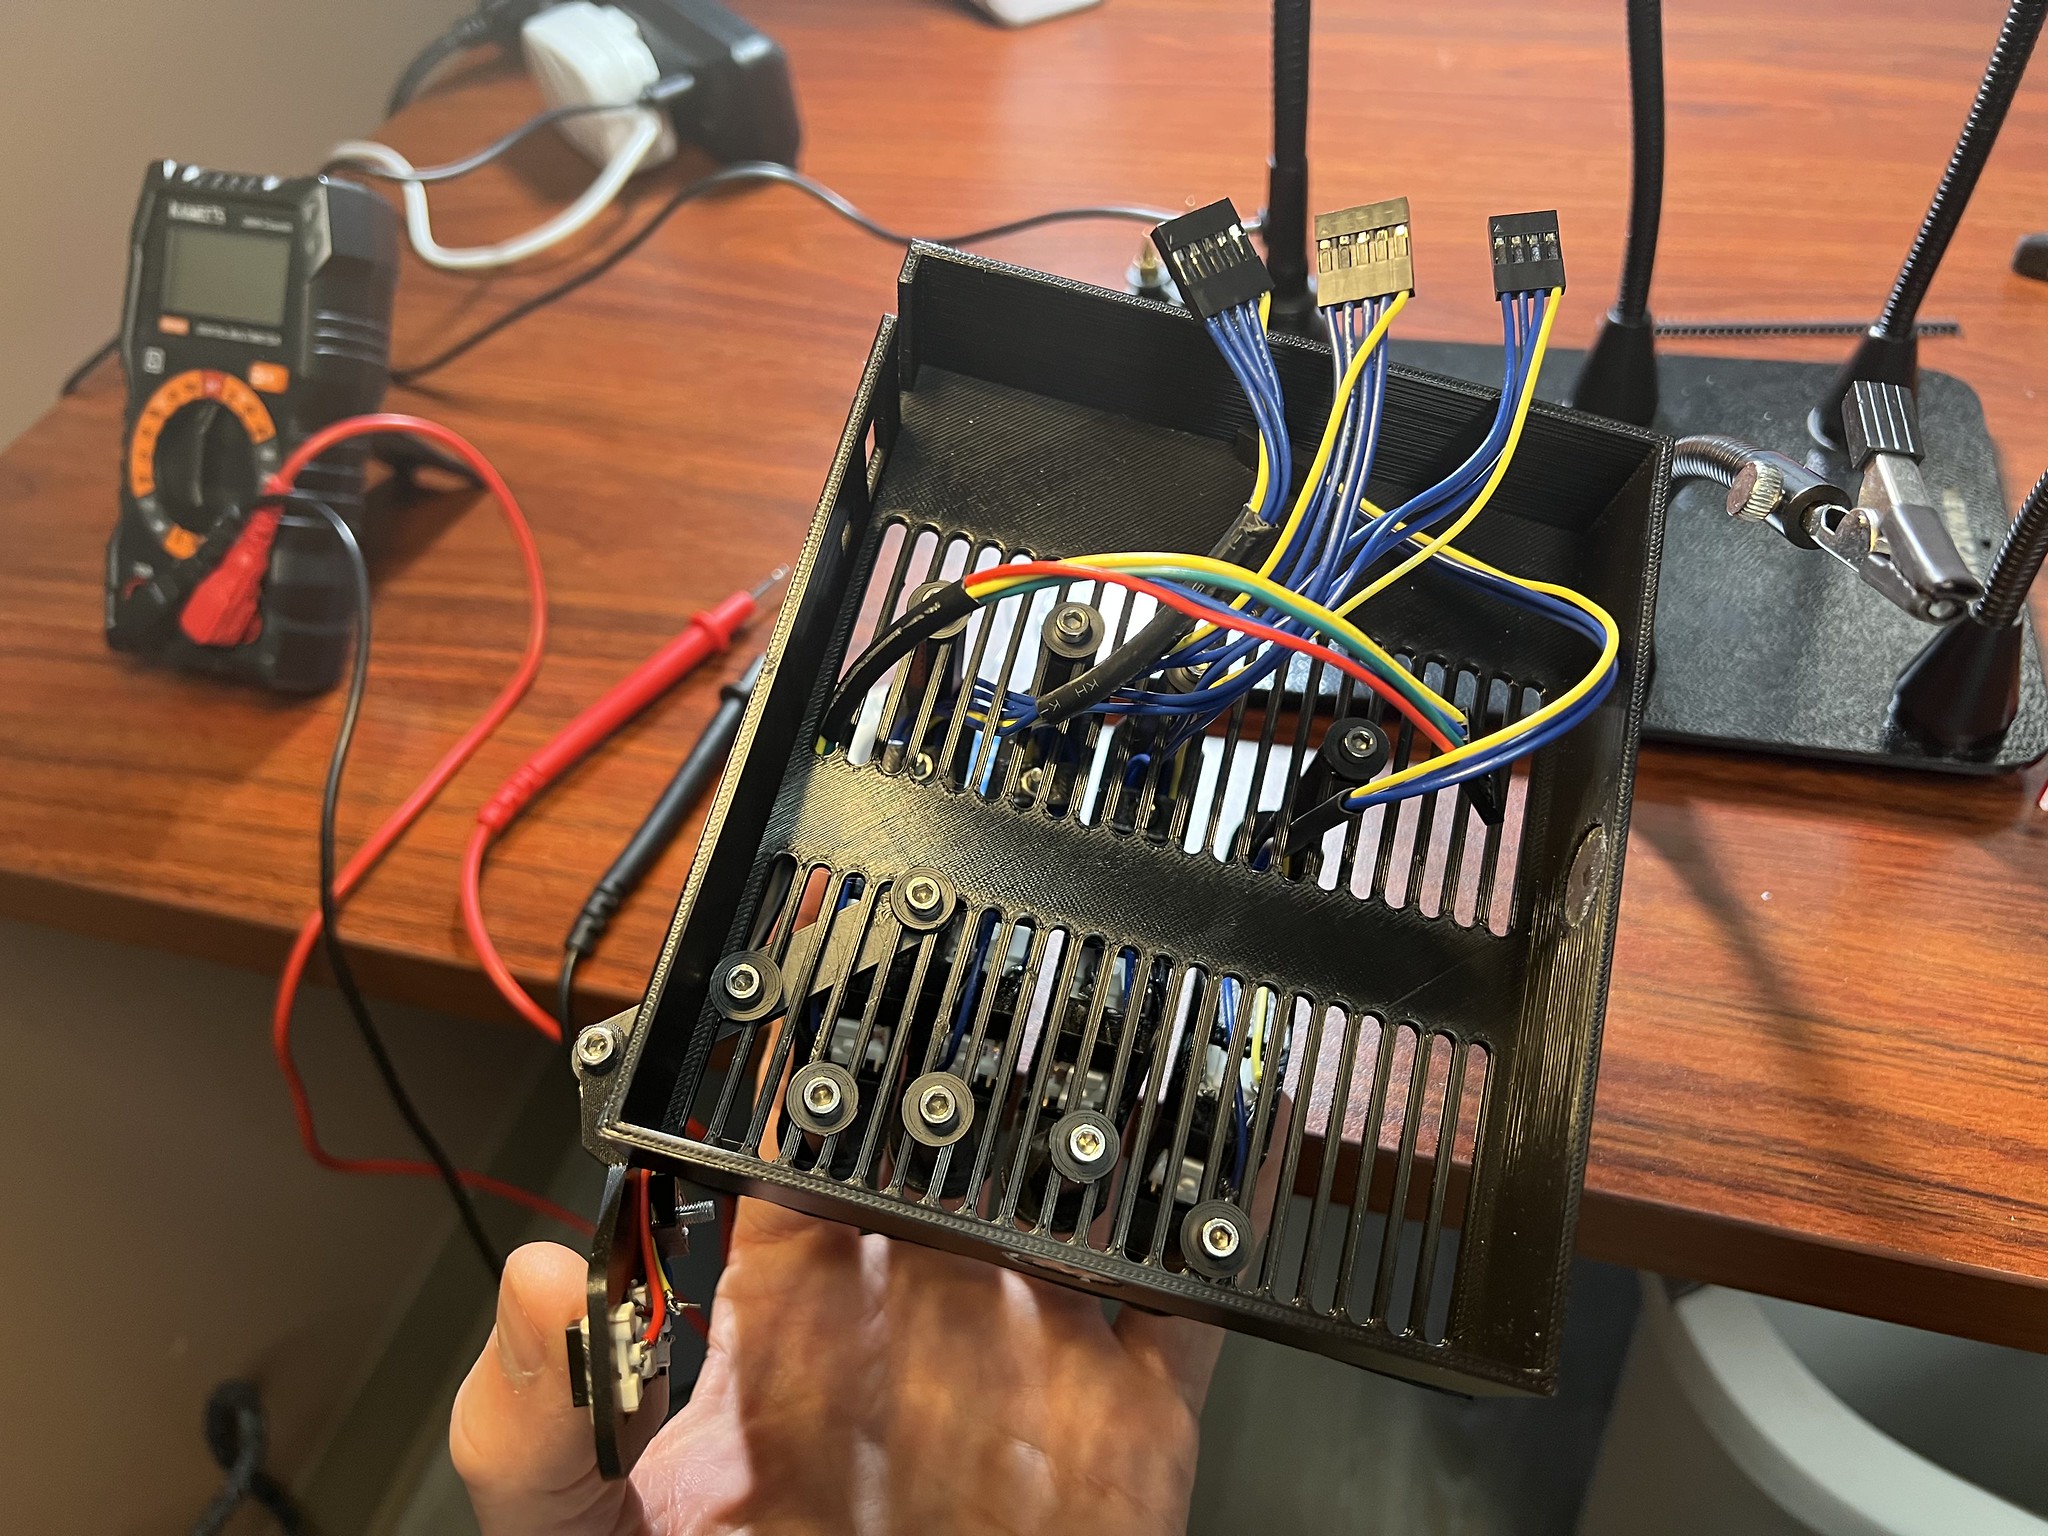
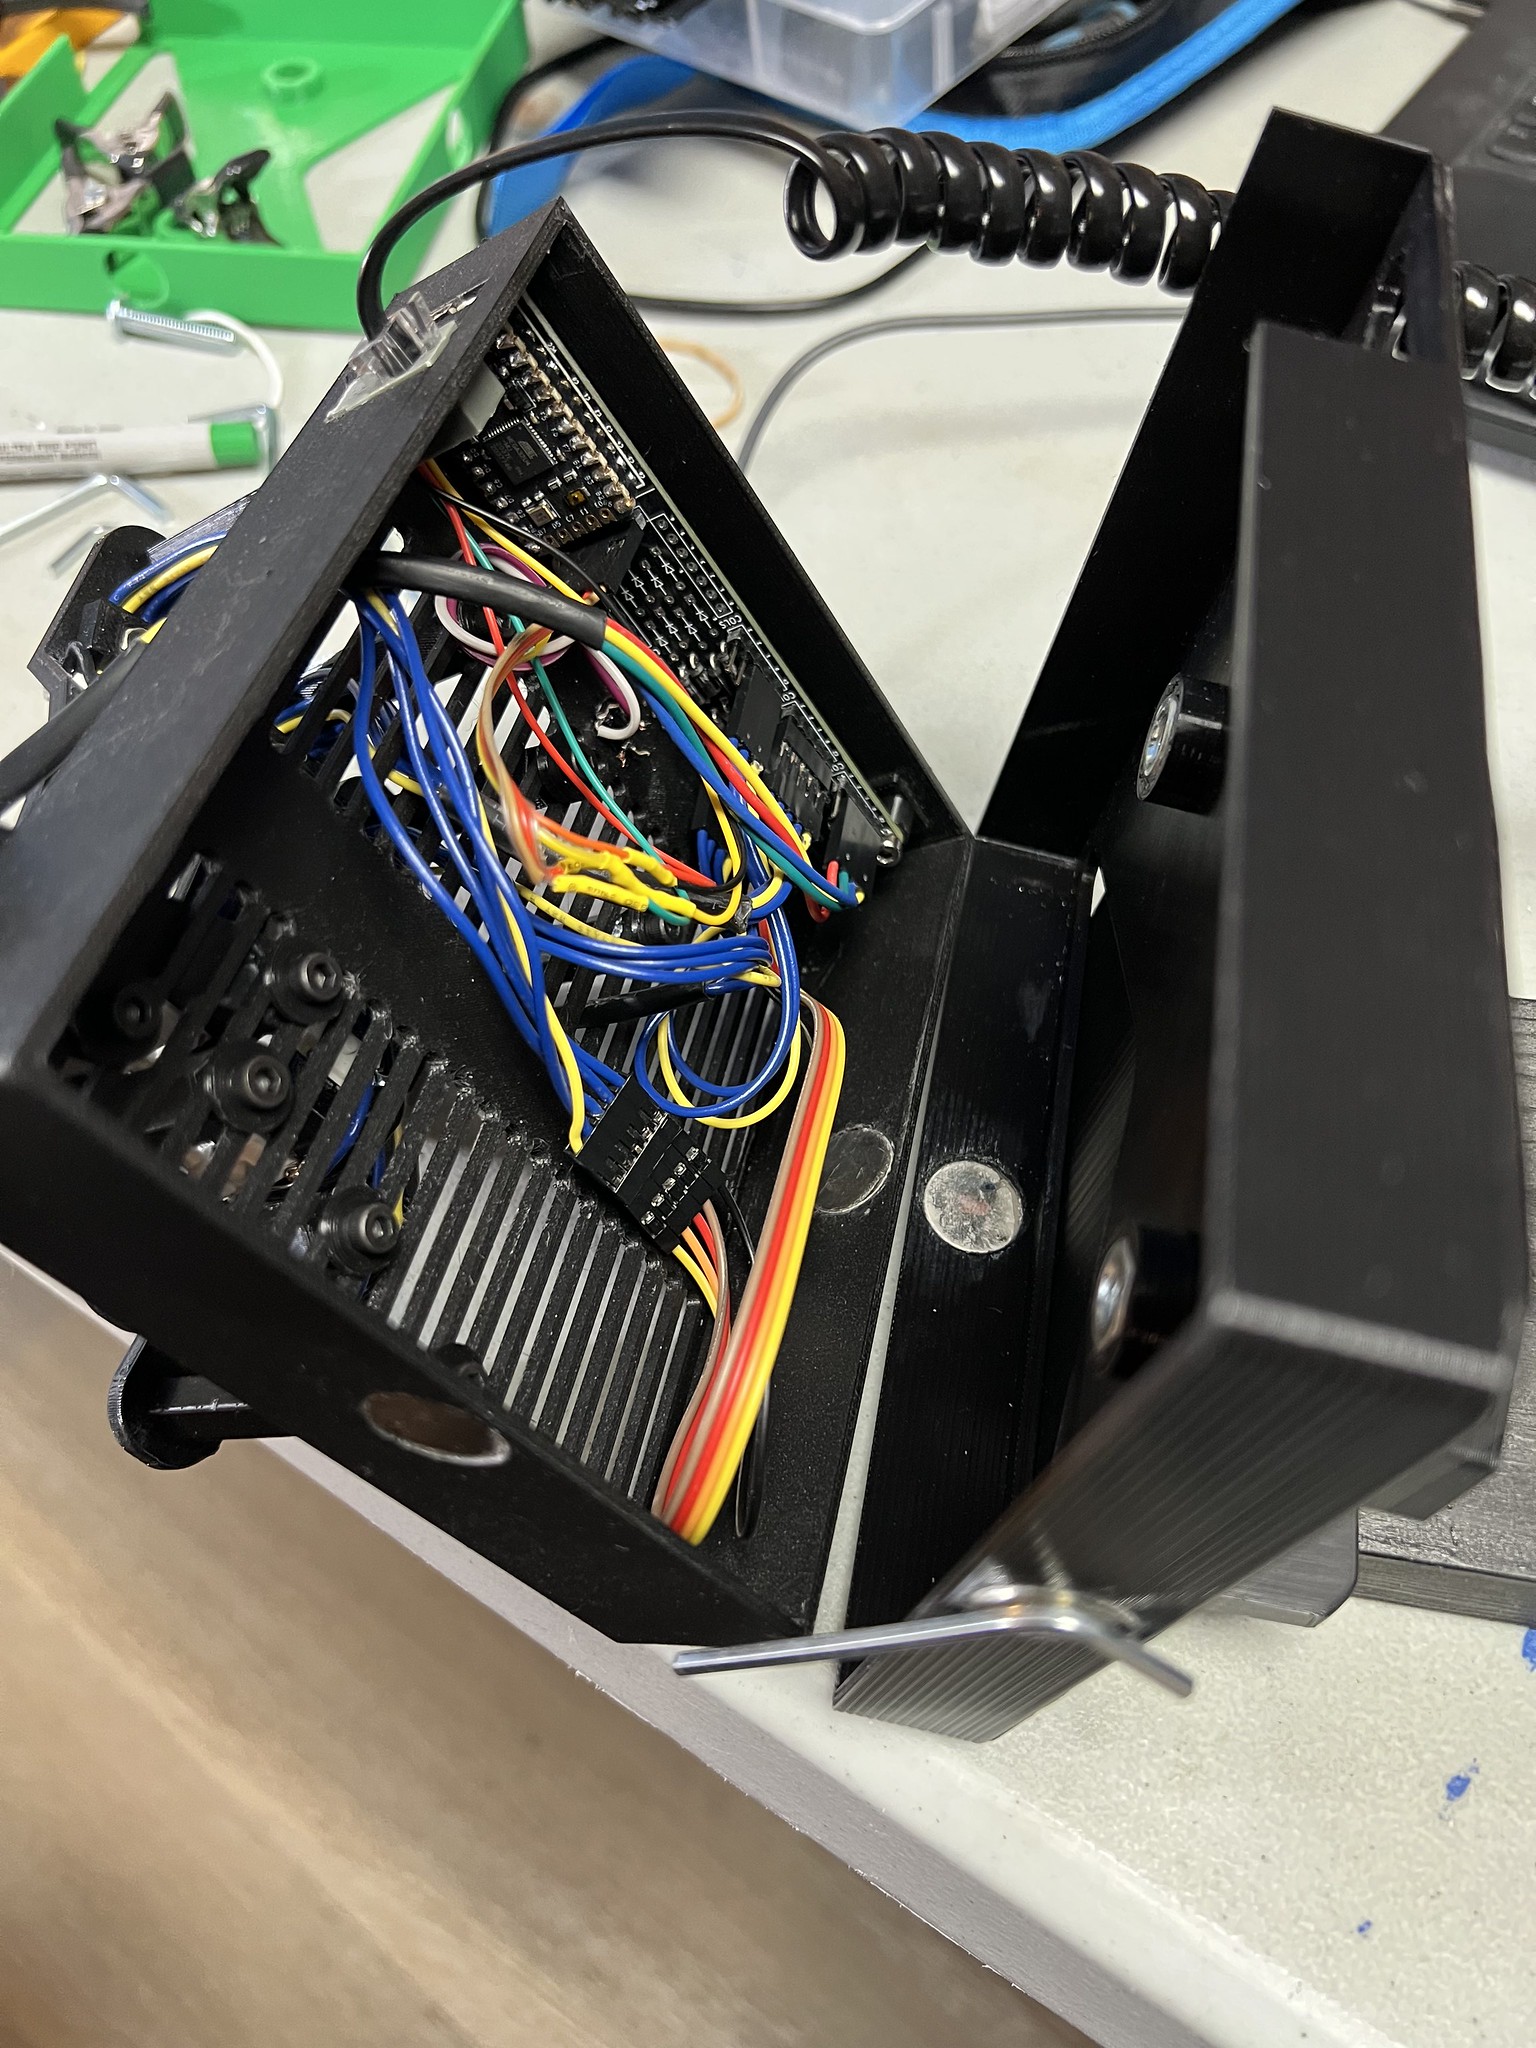
Printed Circuit Board
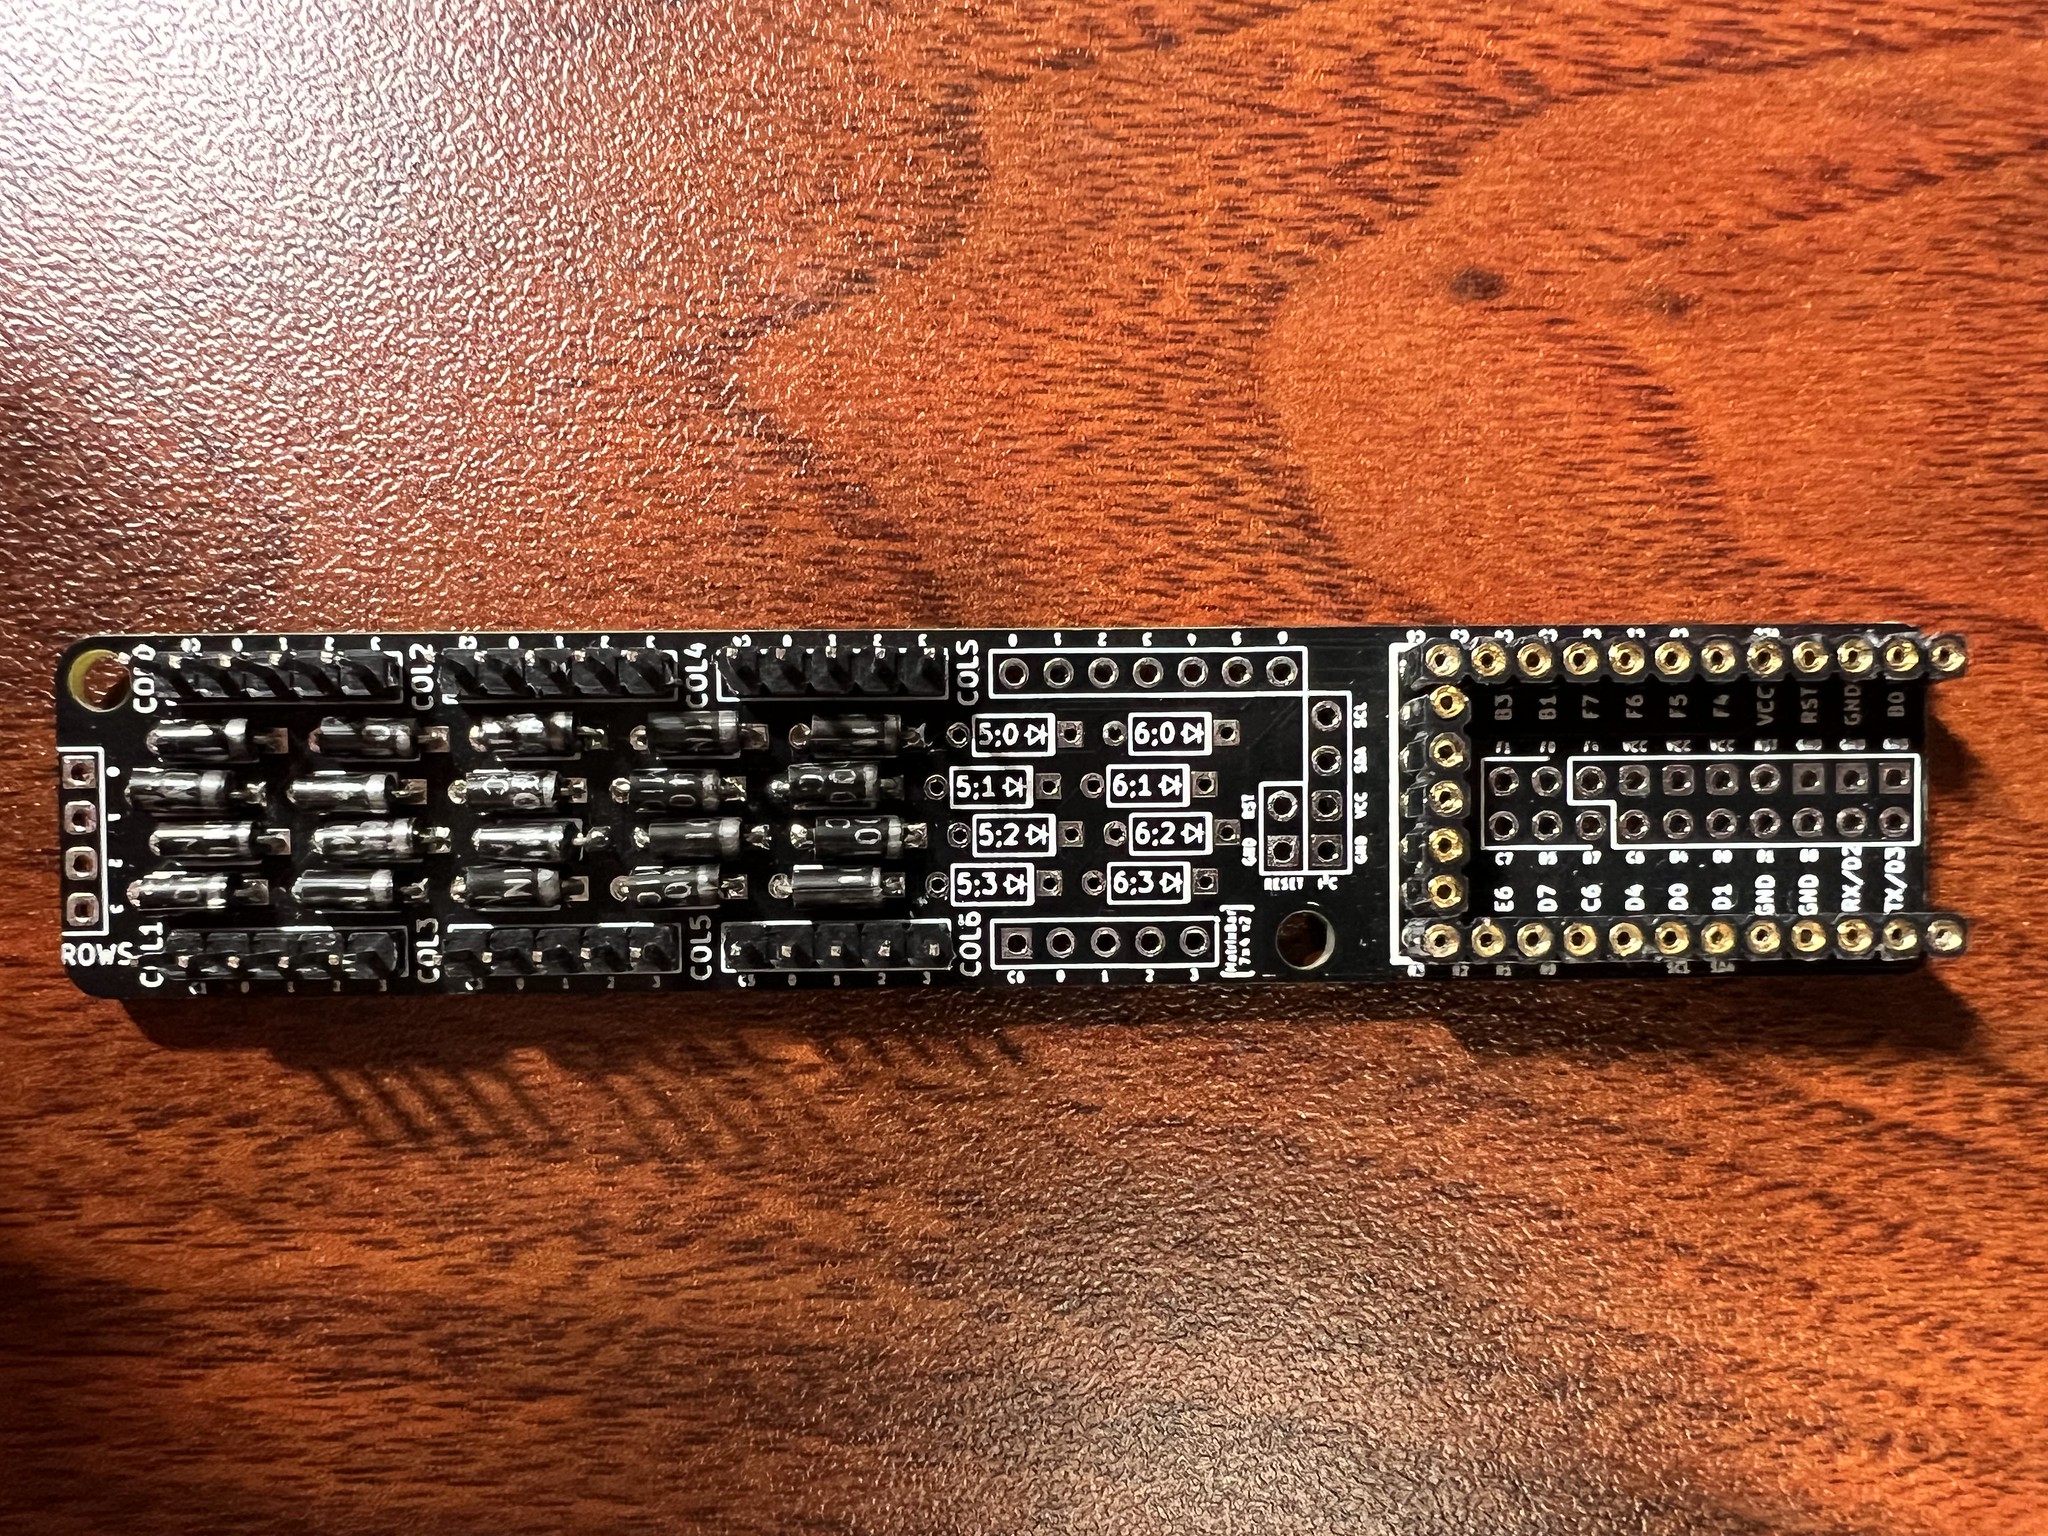
To help reduce the handwiring spaghetti situation, I wanted to try to make an actual circuit board. If the main switch matrix circuitry could go there, and the diodes could live there instead of by the switches on the keywells, that would tidy things up a lot. I would just need a max of 5 wires coming out of each keywell and going only to the PCB. In v2112 the keywells have to daisy chain to their neighbors so there's a cable for incoming and another one for outgoing which is a fiddly mess.
I didn't know anything about PCB design or KiCAD. As I sat down to learn and started discussing my plans on the Absolem Club discord, Petr Viktorin (encukou on github) saw that a small form factor PCB could be useful for many keyboard builds that were too heavily 3D to put the switches directly onto the PCB, and created an absolutely brilliant and compact PCB design he calls the matrixbar. Aside: it was originally called the squeezebar which I preferred for obvious reasons.
With just a few exchanges on discord, we found a layout that would fit comfortably in the Squeezebox case and account for clearances we need for the adjustment bolts, cables connecting to the PCB, etc. Petr was also able to make it such that each keywell could connect to single row of pin headers meaning the cables would be so tidy and a standard DuPont jumper wire housing would easily fit through the slot to get to the interior of the case.
This was such an exciting and fun development! It saved me months of learning and skill building. And from there I got another unexpected and very pleasant gift from other enthusiasts on the Internet...
PCB Fabrication with PCBWay
![]()
PCBWay reached out to me to offer to fabricate a PCB for the squeezebox at no cost. So I took the files that Petr created and uploaded them to PCBWay's online shopping tool. In a few minutes, I had submitted an order for 10 PCBs (enough for 5 split keyboards). Ten days later, the PCBs had been fabricated and shipped across the world to me. It was so exciting to have something with an air of legitimacy giving the project a lot of polish instead of just an embarrassing pile of wires.
Thanks PCBWay and Petr Viktorin! The boards look great, fit in the case perfectly, and work great.
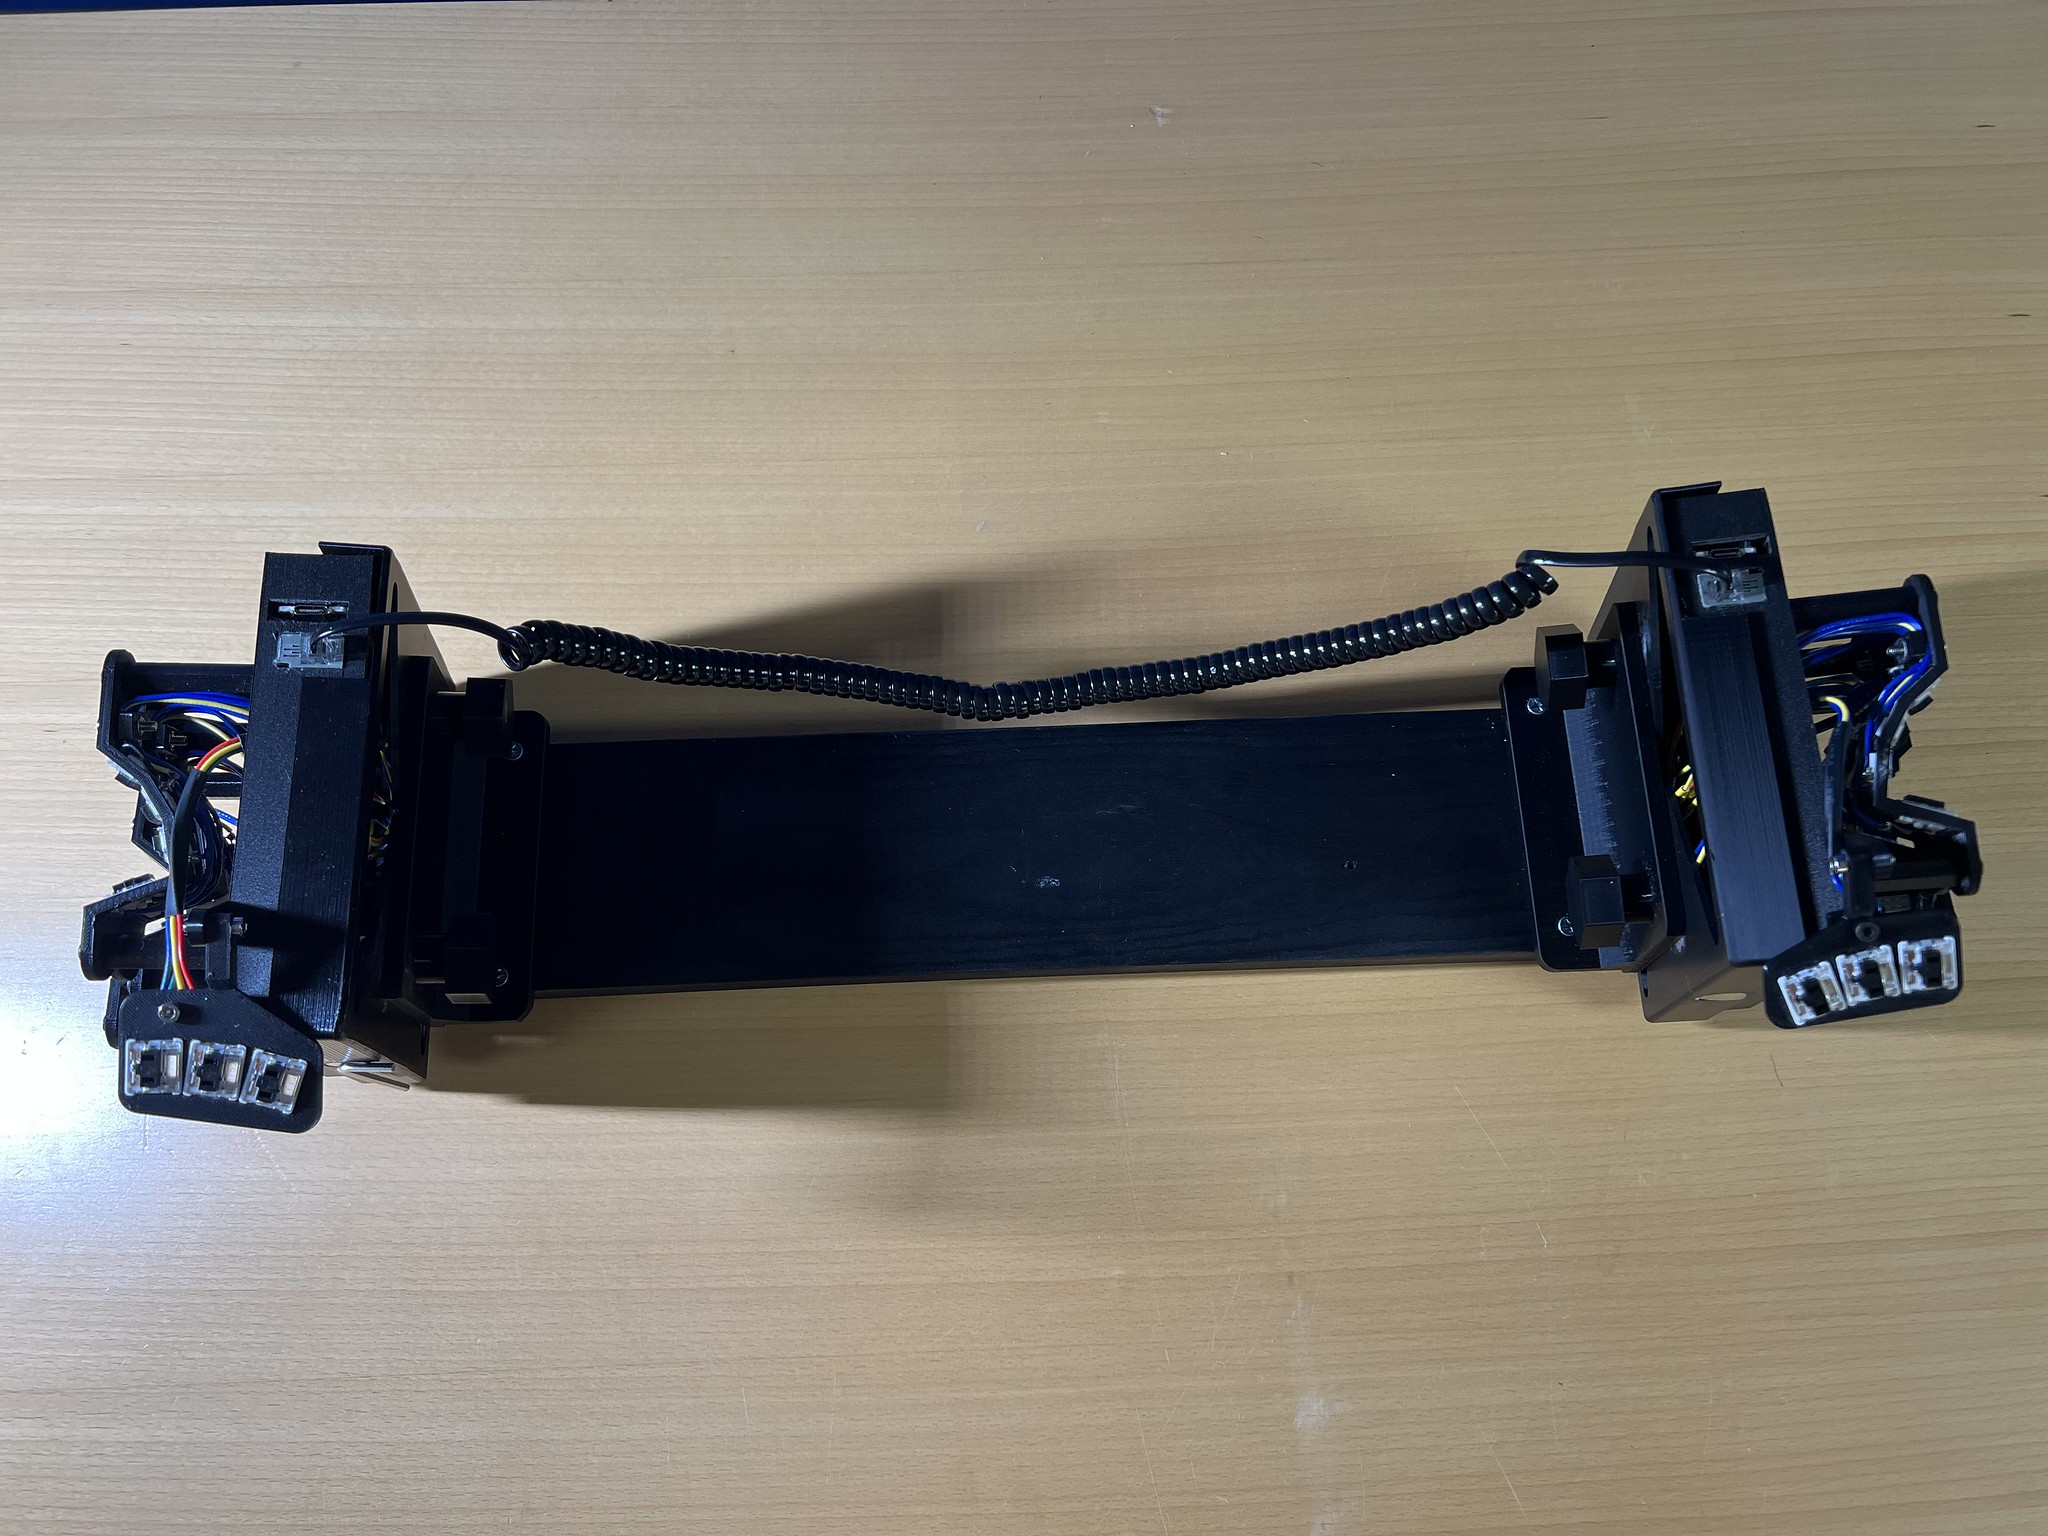
New Case Approach
The PCB enabled me to put all the electronics into the top case, which I call the "slot box" part. That now nests into the bottom case and some magnets snap it into position. The nice thing about this is all the electronics are housed in that single unit and I can remove it from the stand to adjust either the ergonomic fit or the wiring and it's a unit without any wires that need to be disconnected.
The main driver for this was v2112 had a box w/ lid design where the lid bolts to the box with 4 m3 bolts. This is somewhat tedious to remove all the bolts to make an adjustment, so I wanted something easier. The new design is way easier: I can just grab it and remove it without undoing any fasteners, but it is noticeably jankier where the bolts were rock solid. I'm not convinced this is an improvement overall and probably need another iteration to find something that really delivers here.
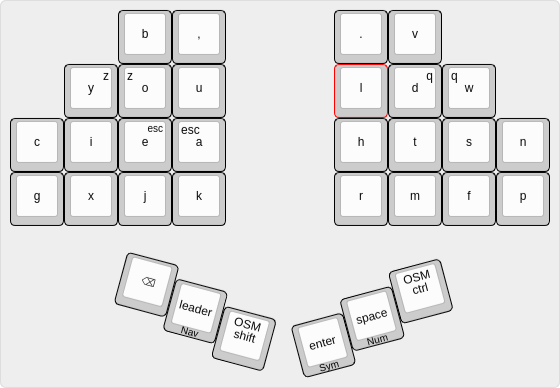
What about keymaps? (engram)
So I'm down to 26 total keys on the fingers and the fingers don't all have the same number of keys, so sticking with dvorak doesn't really apply. In fact, most of the existing layouts can't really be morphed to apply to this hardware. So I went shopping for keymaps briefly. I did not do a huge research effort, so there could be a lot more to explore here, but quickly skimming through some discord conversations and online summaries of keymap evolution, I discovered a fairly new layout called engram which appealed to me for 2 main reasons:
- The inner reach columns for the index fingers all had punctuation not letters
- This meant I could use the alpha layout without heavily compromising it
- I could stick all symbols on a layer anyway
- It had the same basic idea of vowels on left hand home row and important consonants on right hand home row which is how dvorak is and I like that.
- It didn't move any alphas to the thumb which I don't quite feel ready for so I could probably learn engram on my thinkpad built in keyboard and use that while traveling and keep my window manager keybinds consistent
After some discussion in discord, I was encouraged to swap q and z out to combos to make space to fit period and comma on the base layout, so my layout is now basically take engram, swap a few silly letters around to account for my hardware weirdness, and add period and commma.
Quick Video
Hackaday Project Log
As I did this build, I posted smaller build logs for almost each session over on Hackaday. Feel free to read through those for more blow-by-blow commentary and thoughts.
STL Files to 3D Print This
Squeezebox v2209 on printables.com
Reddit Discussion
Discussed on /r/ergomechkeyboards here.
Thoughts and Learnings at the Moment
I still can't type on v2209 and am slowly learing one key at a time on keybr.com. I think I'll need to practice a lot and get fluent and then maybe in a few months I'll try to use v2209 as my daily driver. We'll see. Here's some thoughts on the overall project.
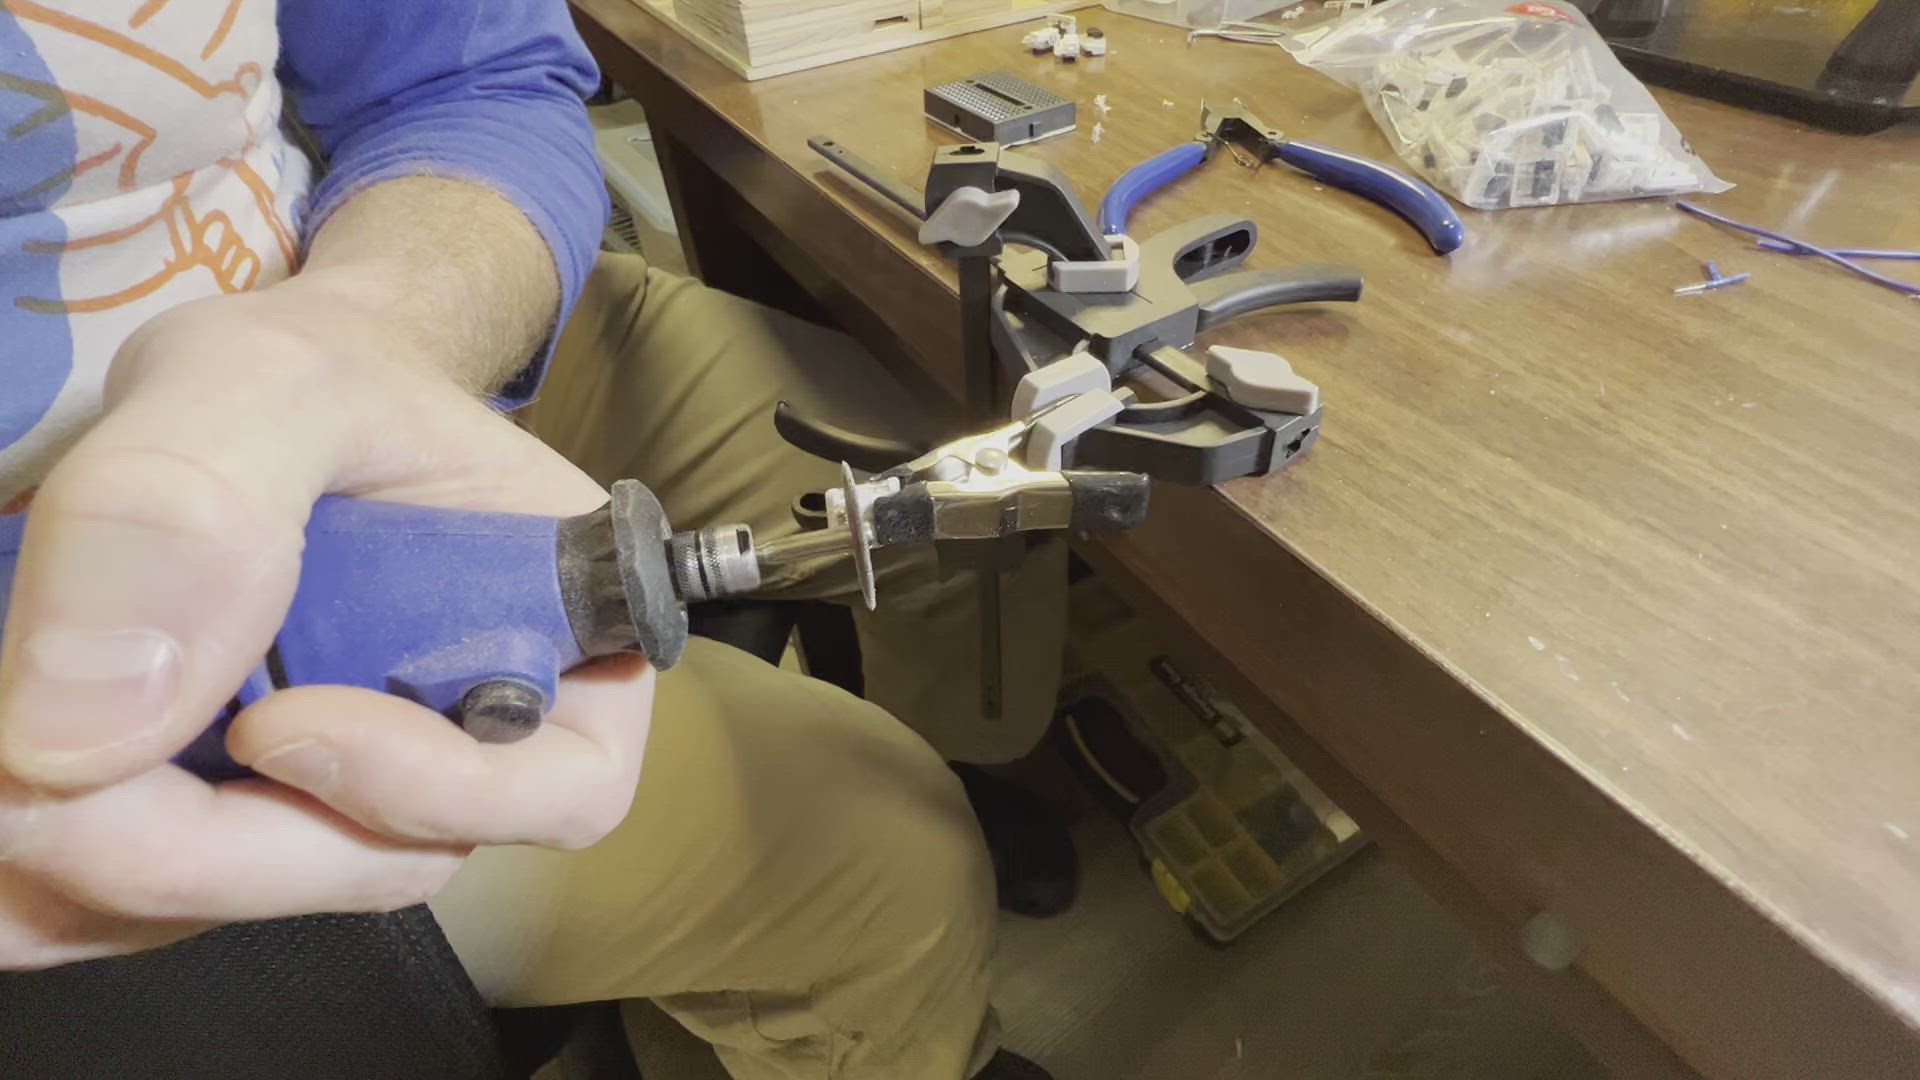
Crimping DuPont Jumper Connectors Sucks
I bought a crimper so I could make DuPont jumper connectors the exact right length with the exact right number of wires and consistent wire colors. But sheesh, this is terrible business. Crimping them is extremely fiddly and frustrating. The crimping goes wrong easily. The metal connector doesn't reliably snap into the locked position in the plastic housing. I think the actual connector form factor is more or less OK-ish, and being slim enough to fit through the slot box slots is great, but I need to do it with factory cables somehow. Ultimately these connectors are going to be one of the least reliable aspects of this build. I may need to glue the wires into the housings to keep them from degrading and I actually thought about cutting the connectors off entirely and soldering the wires to the header pins. It would be a lot less plug-n-play but at least they switches would always type.
I'm still searching for other small but robust connectors. Folks have linked me to various shape JST connectors, but they don't fit through the slots, so I'd need to design holes specifically for them to get down into the slot box. That's fine and there's enough space available to do it. It's just nice that DuPonts are so slim they can fit through the m3 slots.
Nested Boxes for the Case Is Kinda Bad
The nested boxes with magnets for the case is workable but mostly bad. There's some slop due to print warping that I have to address with a rubber band or the case won't be stable when closed. Something based around a smaller number of bolts is probably better.
PLA is Tough for Adhesives
The DAP RapidFuse adhesive I use tends to leech into the PLA and dries visibly white which is a bummer. Anything I can do to reduce this or avoid adhesives altogether I'll try.
My initial design for mounting the PCB to the case was some smallish PLA standoffs glued to the inside of the slot box. At one point I knocked one half of the keyboard off my workbench onto the floor and that failed in 2 ways. One standoff popped the glue, and the other one sheared the standoff itself. So I had to seek advise and designed a 1-piece rectangular mount which uses bolts to attach to both the PCB and the slot box. That is much sturdier.
Keywells Overall Feel Good
The keywell layout feels good. I think I may ultimately like typing on this best so far but need a lot of practice.
Choc Minis?
The Choc minis are slightly better than choc v2s do to actuation travel but it's by such a small amount that it's probably negligible.
PCB Learnings
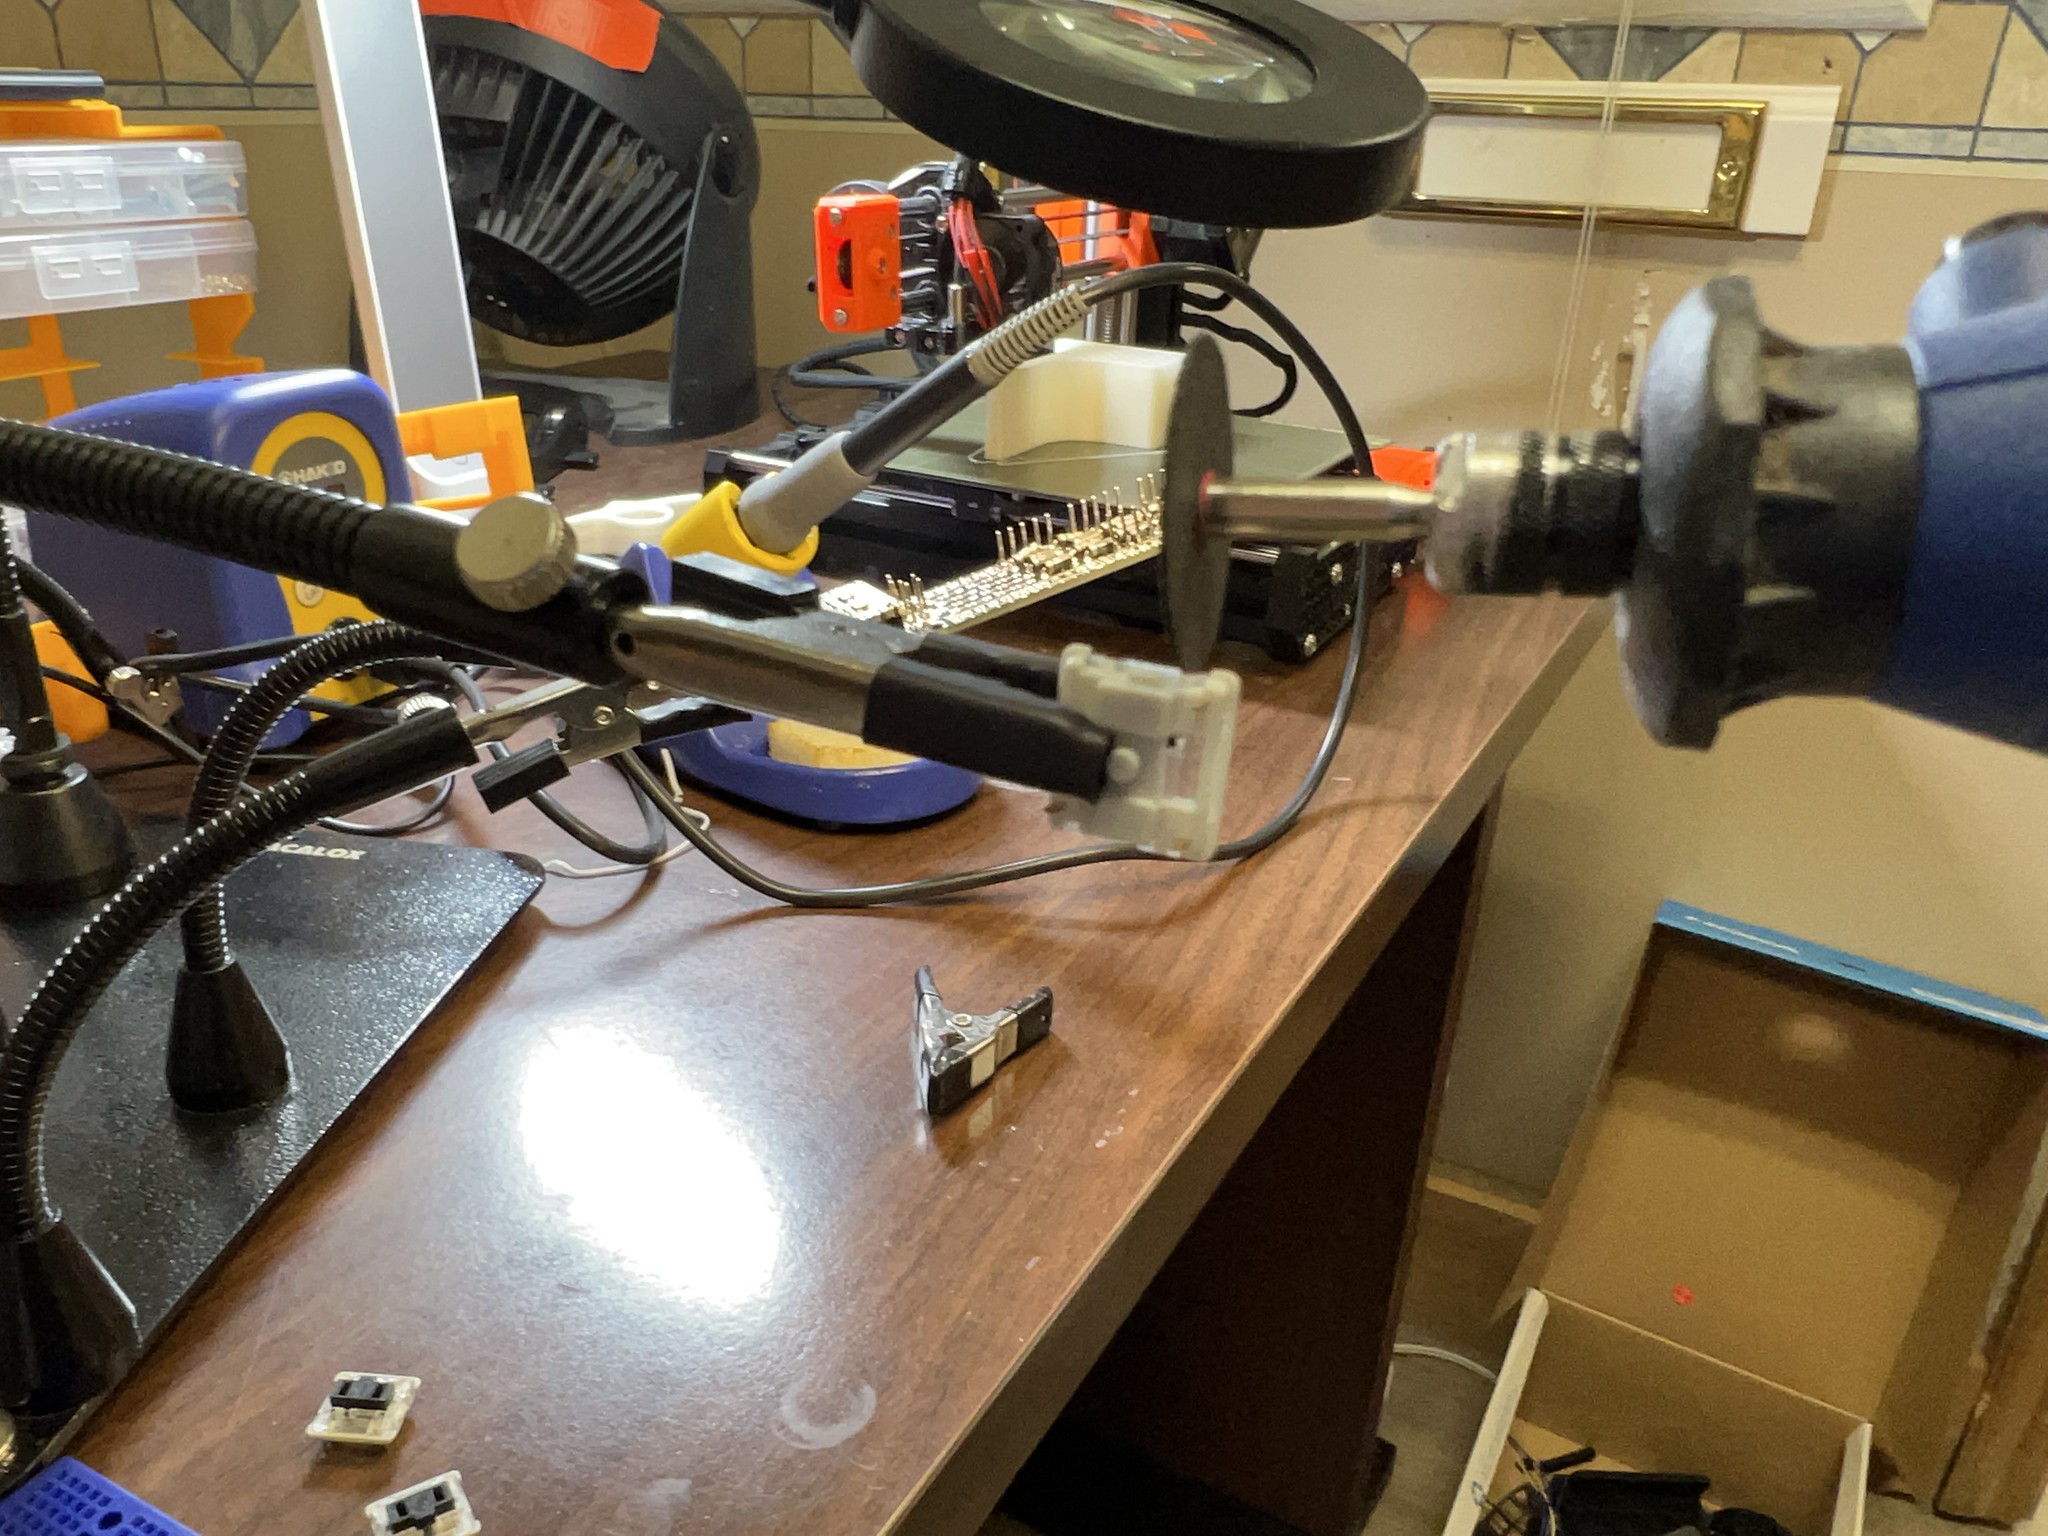
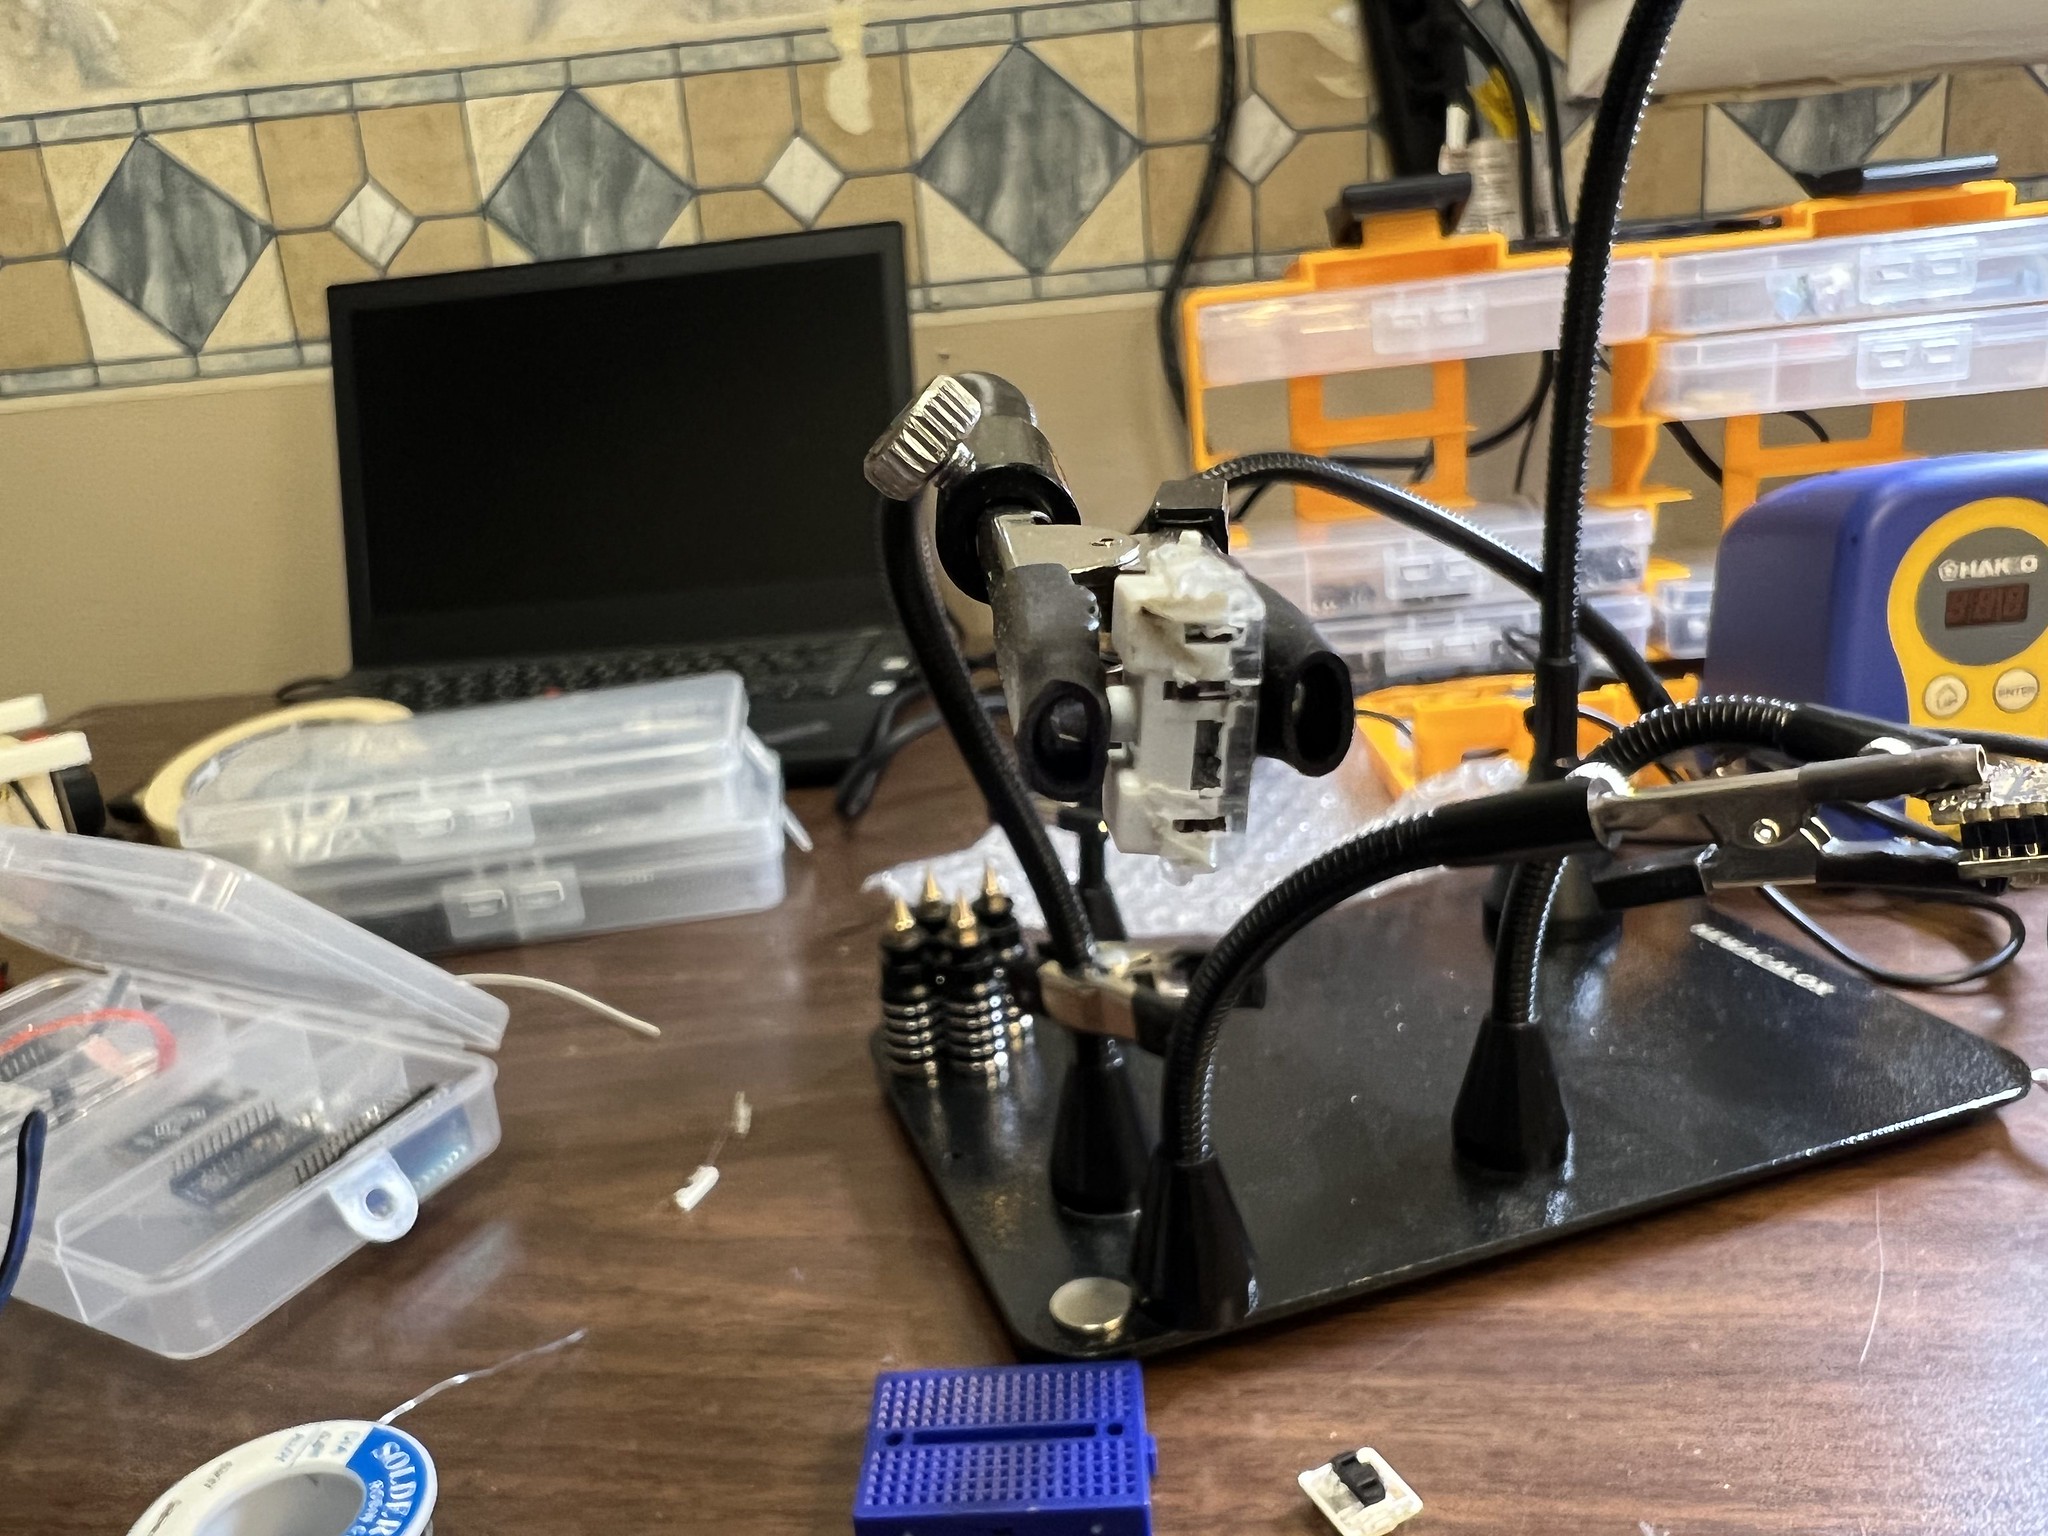
I ruined at least 3 PCBs in not really knowing what I was doing. The first one I didn't understand how pin headers should be mounted and I soldered the wrong side. Somewhere in the socketing of the MCU created a short on 2 other PCBs and I thought for like a week that I had fried 2 Elite-C MCUs. Only when I pried them out of the sockets so they were disconnected from the PCB was I then able to flash them and they were fine. So I think 2 of the PCBs had a solder short somewhere (probably the reset button through holes) and I had to just grab spares and move on to avoid spending too much time debugging.
Case Hole Layout Is Tricky
I tried to do CAD for the holes in the case for the USB cable, RJ9 connector, and reset button. But it turns out predicting the wiring constraints is hard. My USB hole ended up not accounting for the extra height socketing the MCU adds so it didn't initially line up and I had to print more slot boxes to correct it. I also realized the reset button could go on the outer face which worked out fine in terms of easy to reach, hard to reach by accident though, and easy to route the wires to the PCB pin headers from the button.
Other Misc Mistakes
- I wired one reset button wrong so it was always completing the circuit. Oops.
- Of course I glued at least one magnet in with the polarity wrong. I do this every time despite attempting to mark them with tape or sharpie.
- The magnets would look cleaner if I made the case walls like 1mm thicker so the magnets sit in a recess not a through hole.
- I soldered a bunch of diodes onto the wrong side of one PCB. I didn't realize the Elite-C pinouts were different on the front and back so everything has to go on a particular side for the build to work in my case.
- Some of the wires I tried to pre-crimp I didn't account for the length variations running to different switches so they didn't group nicely at the end
- Initially I routed the thumb cluster wires dead center same as the post, but ultimately this interfered with how the thumb cluster mounts to the slot box so in the next tweak I offset the strain relief to the exterior considerable so the wire would route properly.
- I tried to directly crimp DuPont connectors to the wires that come with my RJ9 connectors, but discovered their gauge was too small and the crimp was unreliable. So I had to splice on some store bought jumper wires, and this hack had to be done after the connector was already glued into the case, so it was fiddly and annoying.
- One of the cables I pre-fabricated while on vacation away from my workshop ended up being just a TINY bit too short to reach the pin headers on the PCB so I had to make a short janky extension cable in order to connect to the pin headers.