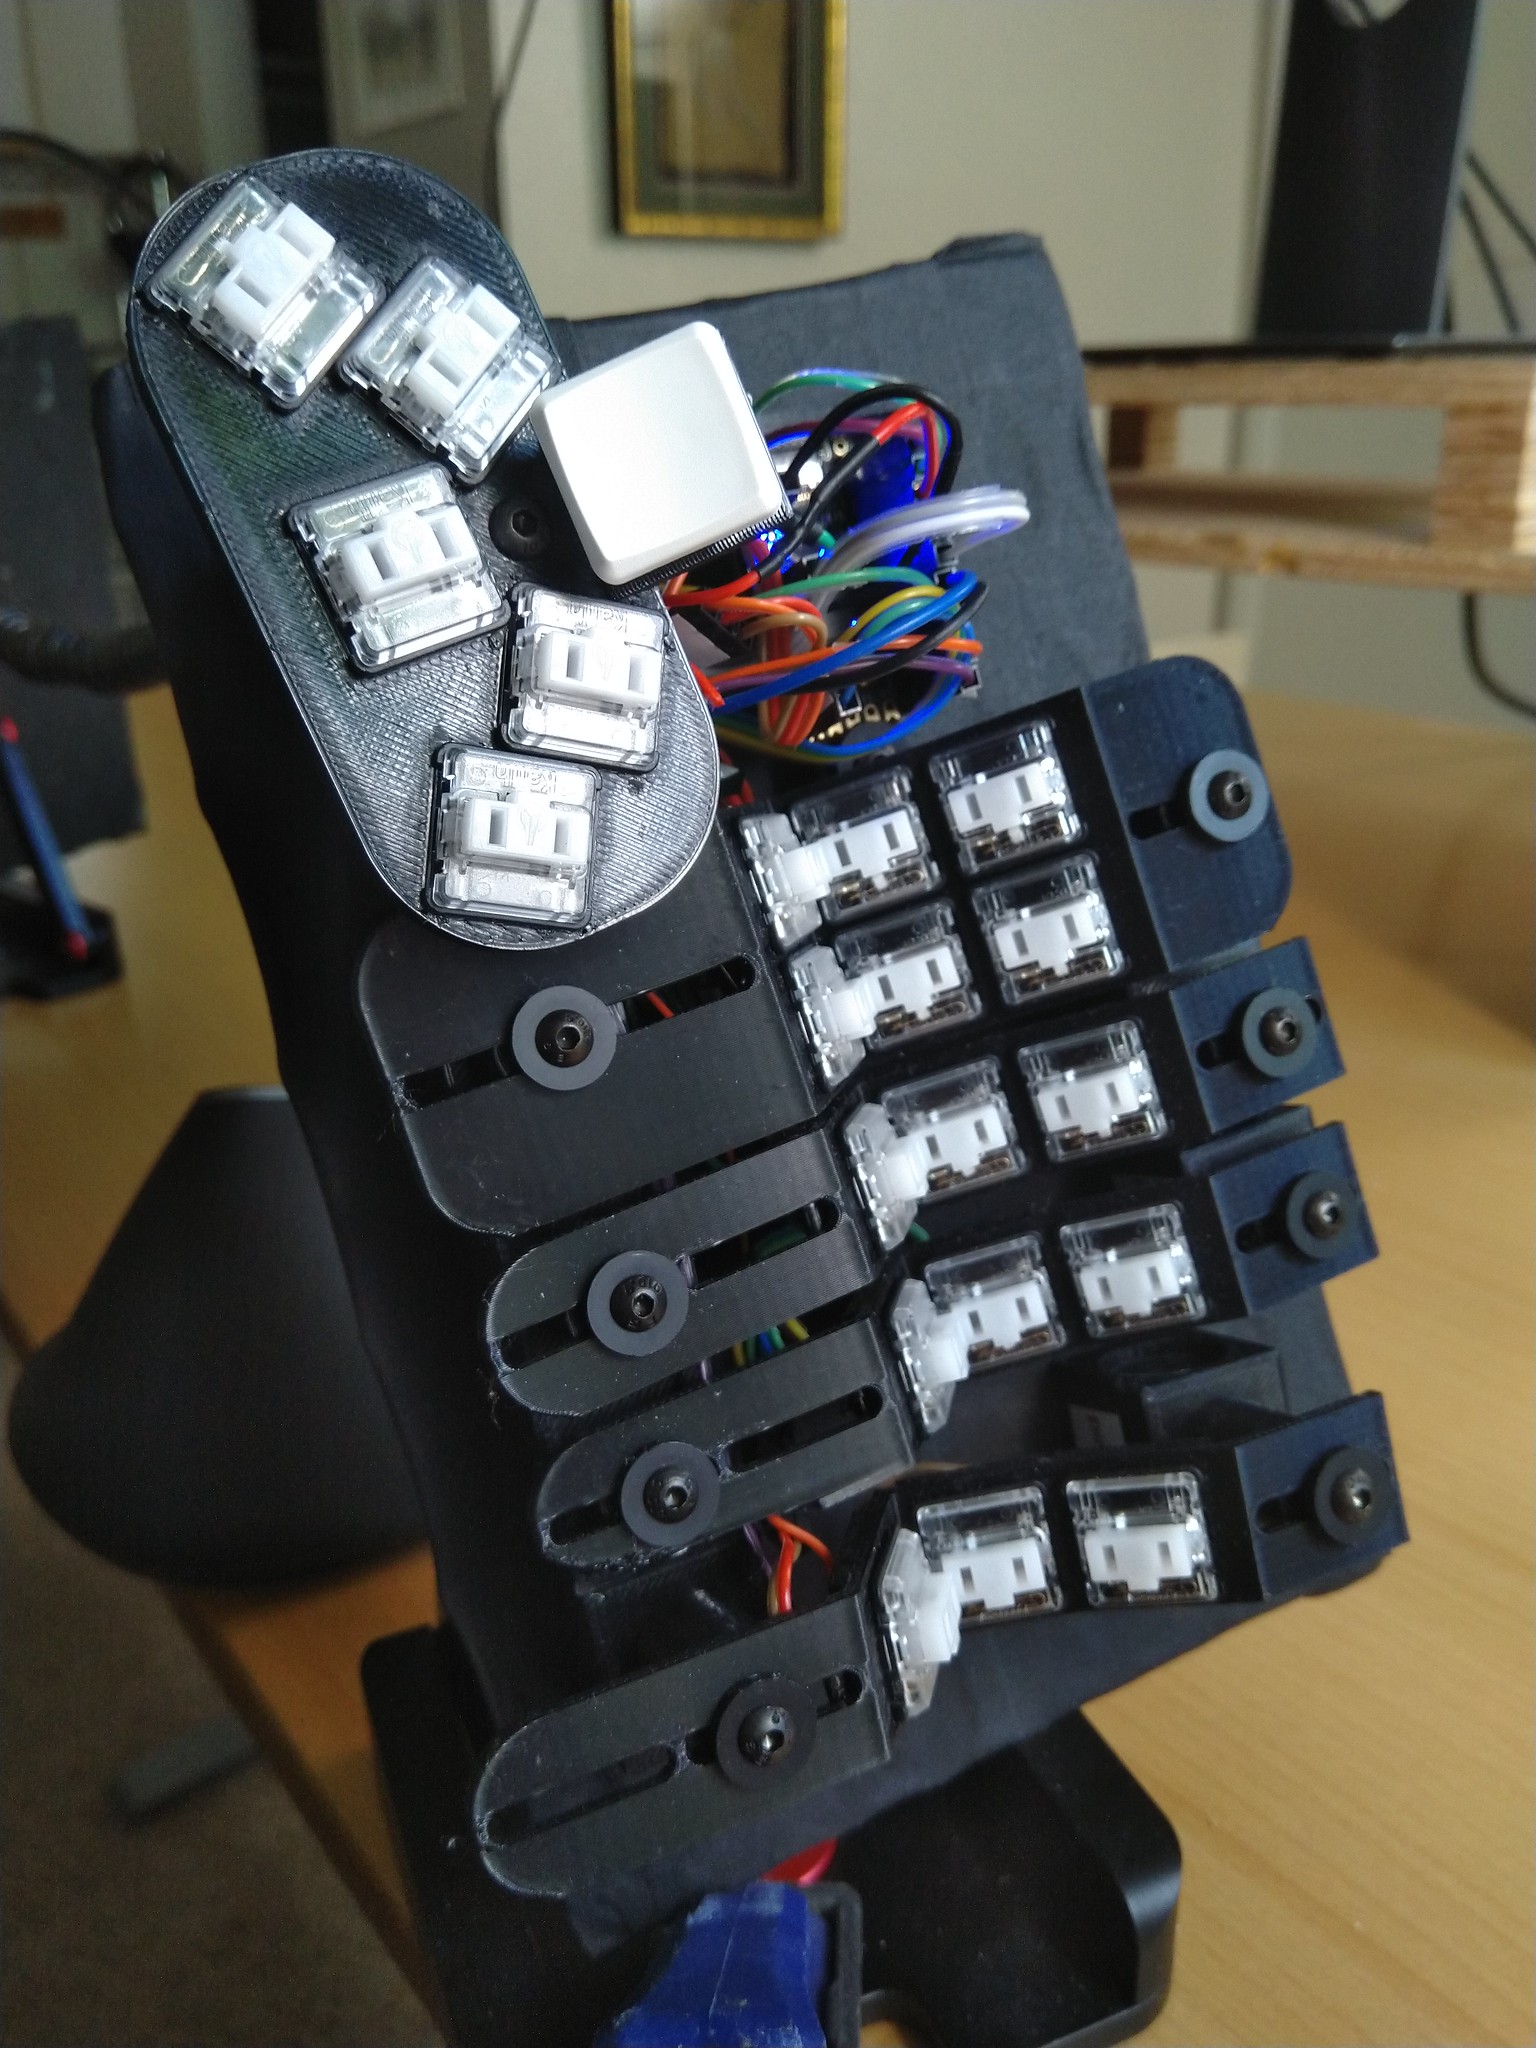
Squeezebox Keyboard v2105
I've made a second prototype of the Squeezebox Keyboard. It's a huge improvement over the first working prototype.

Improvements included in this version
- Key switches are hot swappable courtesy of Kailh hot-swap sockets
- This required a major level-up in my FreeCAD skills as there's a LOT of precise geometry
- Per-finger splay angle, adjustable for tailor fit
- Each keywell column is a separate independently-operable 3-key macropad
- This means if one breaks or fails you only need to print a single part and handwire 3 switch/diode pairs
- This is also extremely useful for the DIY process because each small session of handwiring work can be positively confirmed working and correct without the psychological crush of spending one or more full days wiring and soldering only to connect USB and have precisely nada happen when you press a key
- Angle between rows A and B increased to solve problem of some fingers scraping it on the fingernail side
- Smaller individual 3D printed components avoids frustration of multi-hour print job failing and delivering no usable parts
- reset button is actually mounted into a housing instead of floating in the air at the end of some wires
Wiring and Electronics
Here's a video explaining the wiring system which I believe is fairly novel and strikes me as the "classic Jeep" approach of DIY handwired keyboards. As you'll see in the video, the electronics are made really clear and easy to build, understand, disassemble, reassemble.
Key points from the video for the TL;DW crowd
- Each finger column can be connected to the microcontroller with dupont wires and work as a 3-key macropad
- The fingers daisy chain together with dupont wires to link up the columns into the full half of a split keyboard
- Thumb cluster works the same way
- Don't like the layout of the thumb cluster? You can disconnect it, build a different one, and connect that up and Bob's your father's brother.
Mechanics, Assembly, and Adjustment
This video demonstrates how the individual parts are assembled into a system and tailor fit for the user's hand.
Key points
- Heat-set threaded inserts and M3 bolts continue to be heavily used
- This version incorporates magnets holding the base pillars to a metallic bottom plate covered in gaffer tape
Ergonomics and Tenting

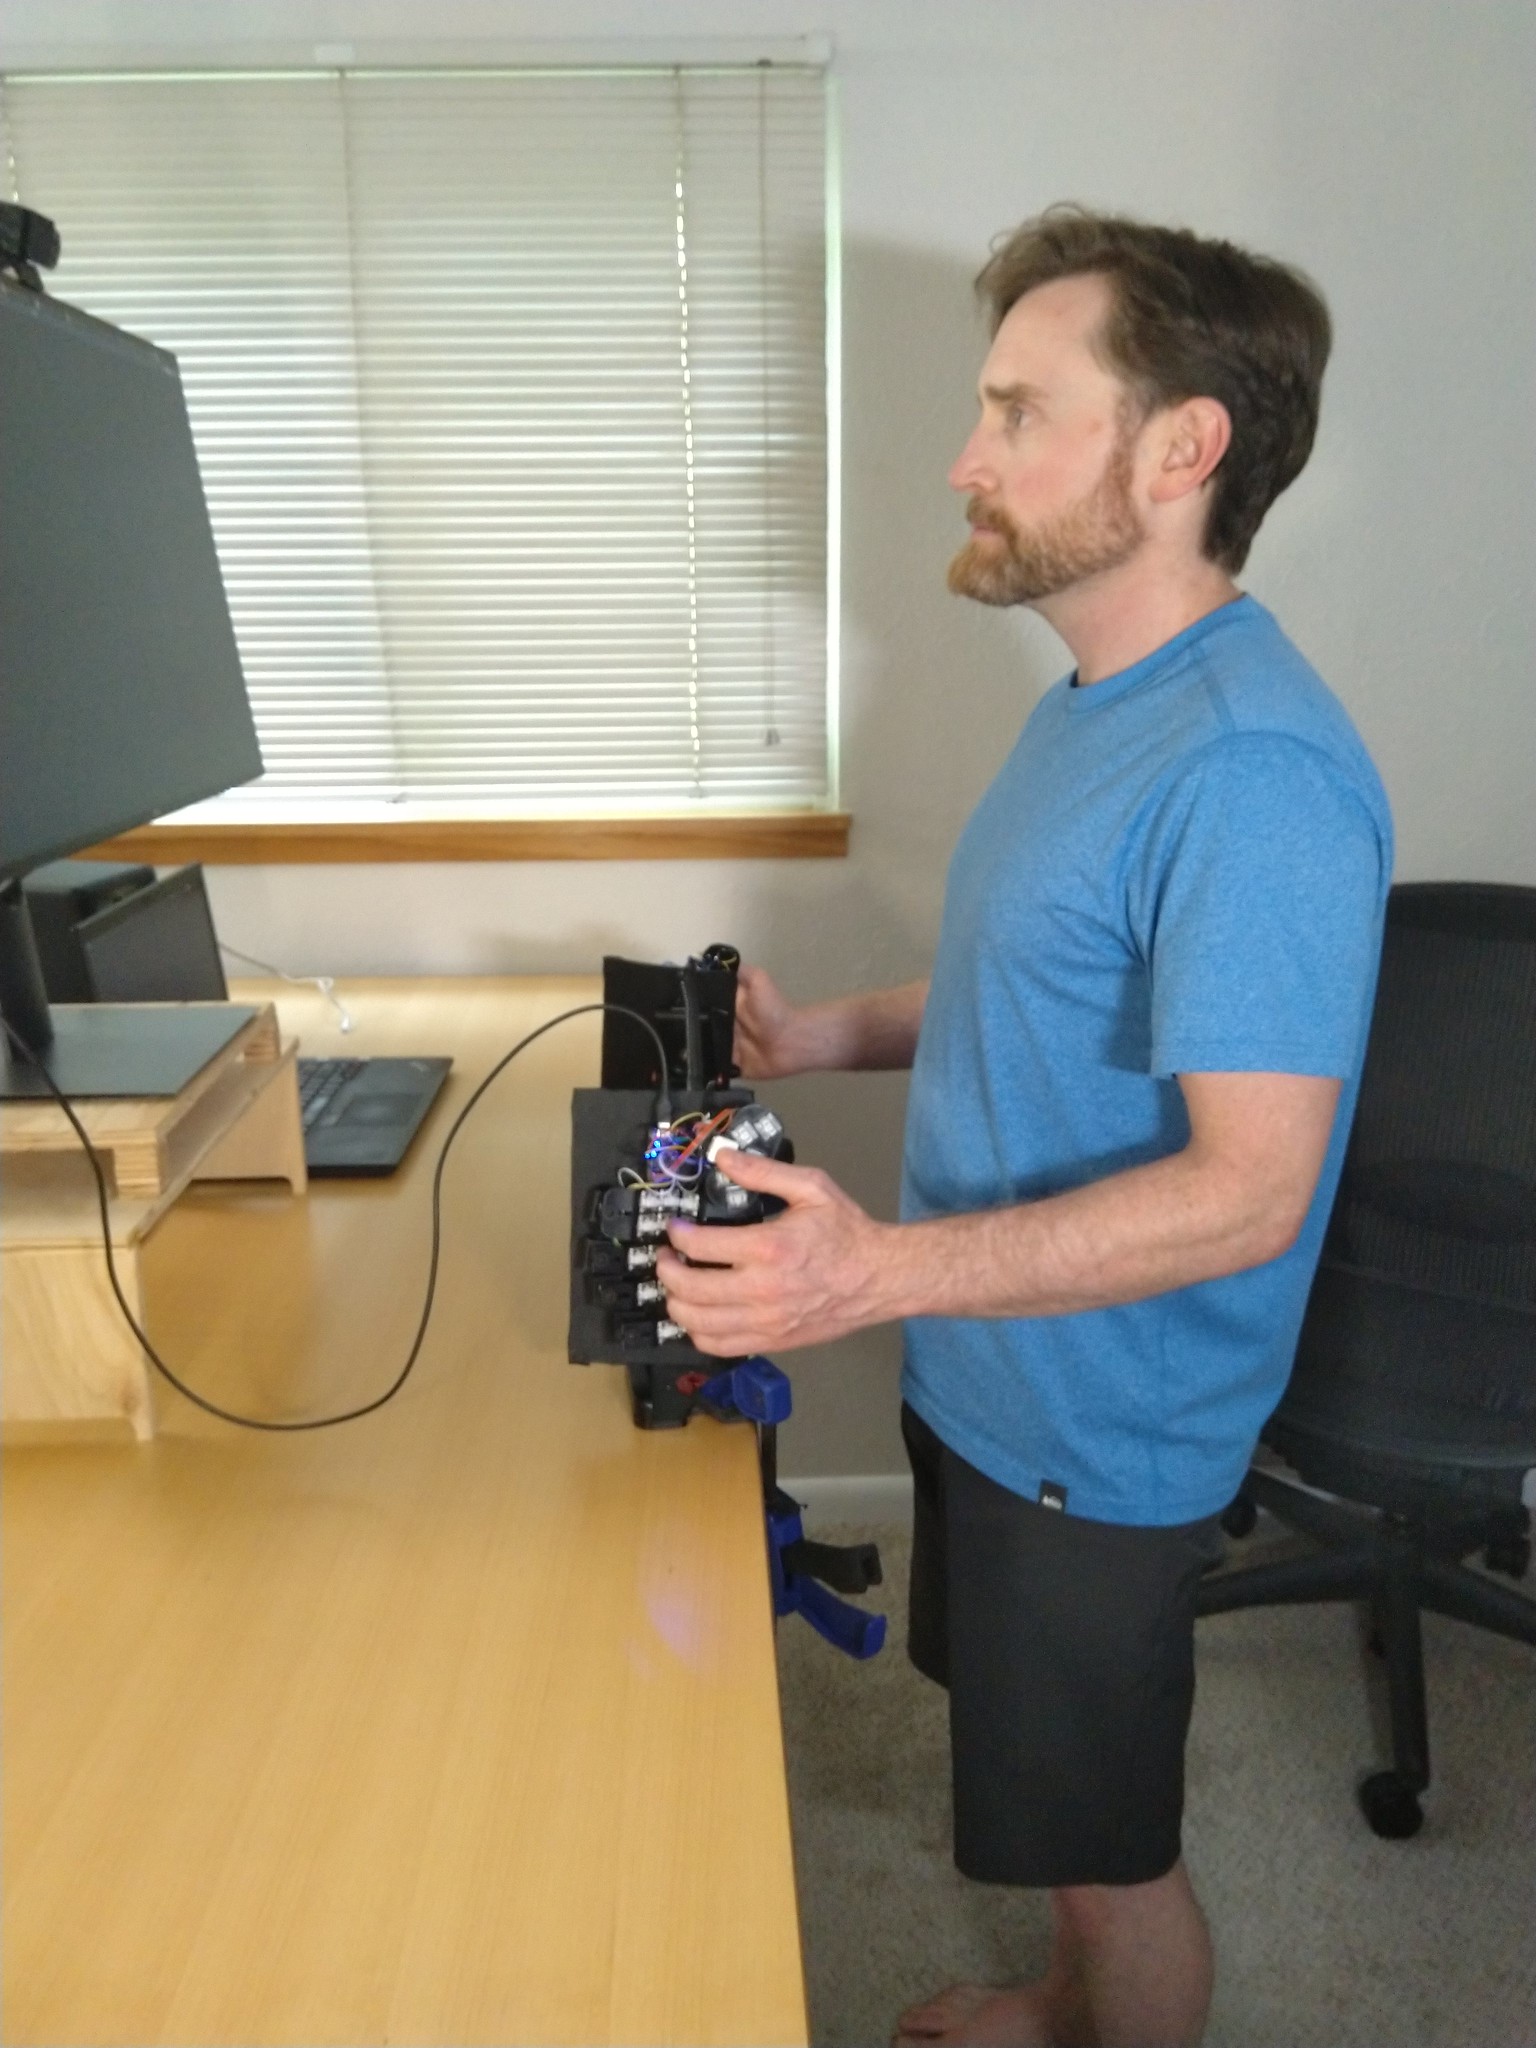
There's been some dramatic back and forth on this R&D effort regarding tenting. My original vision was a truly vertical orientation (like a joystick with your hand in "tamborine position" not "bongo position" - thus the name "squeezebox" which is held in that position). Test typing on my first prototype, my fingers felt pretty good but my thumb began quickly to experience fatigue and shaking due to floating unsupported hovering over its home key on the thumb cluster. That would probably be addressable if instead of floating I was really gripping something joystick-shaped or roughly soda can shape but I didn't want to add yet another discipline like modeling clay to my curriculum and my 3D CAD skills were definitely not ready to make some organic curvy thing, so I yielded to pragmatism and changed my design to target using flat on a desk with no tenting like a standard keyboard. So the first working prototype from back in April was used flat with tall wrist rests and had a thumb cluster on the same basic plane of orientation as the main keywells.
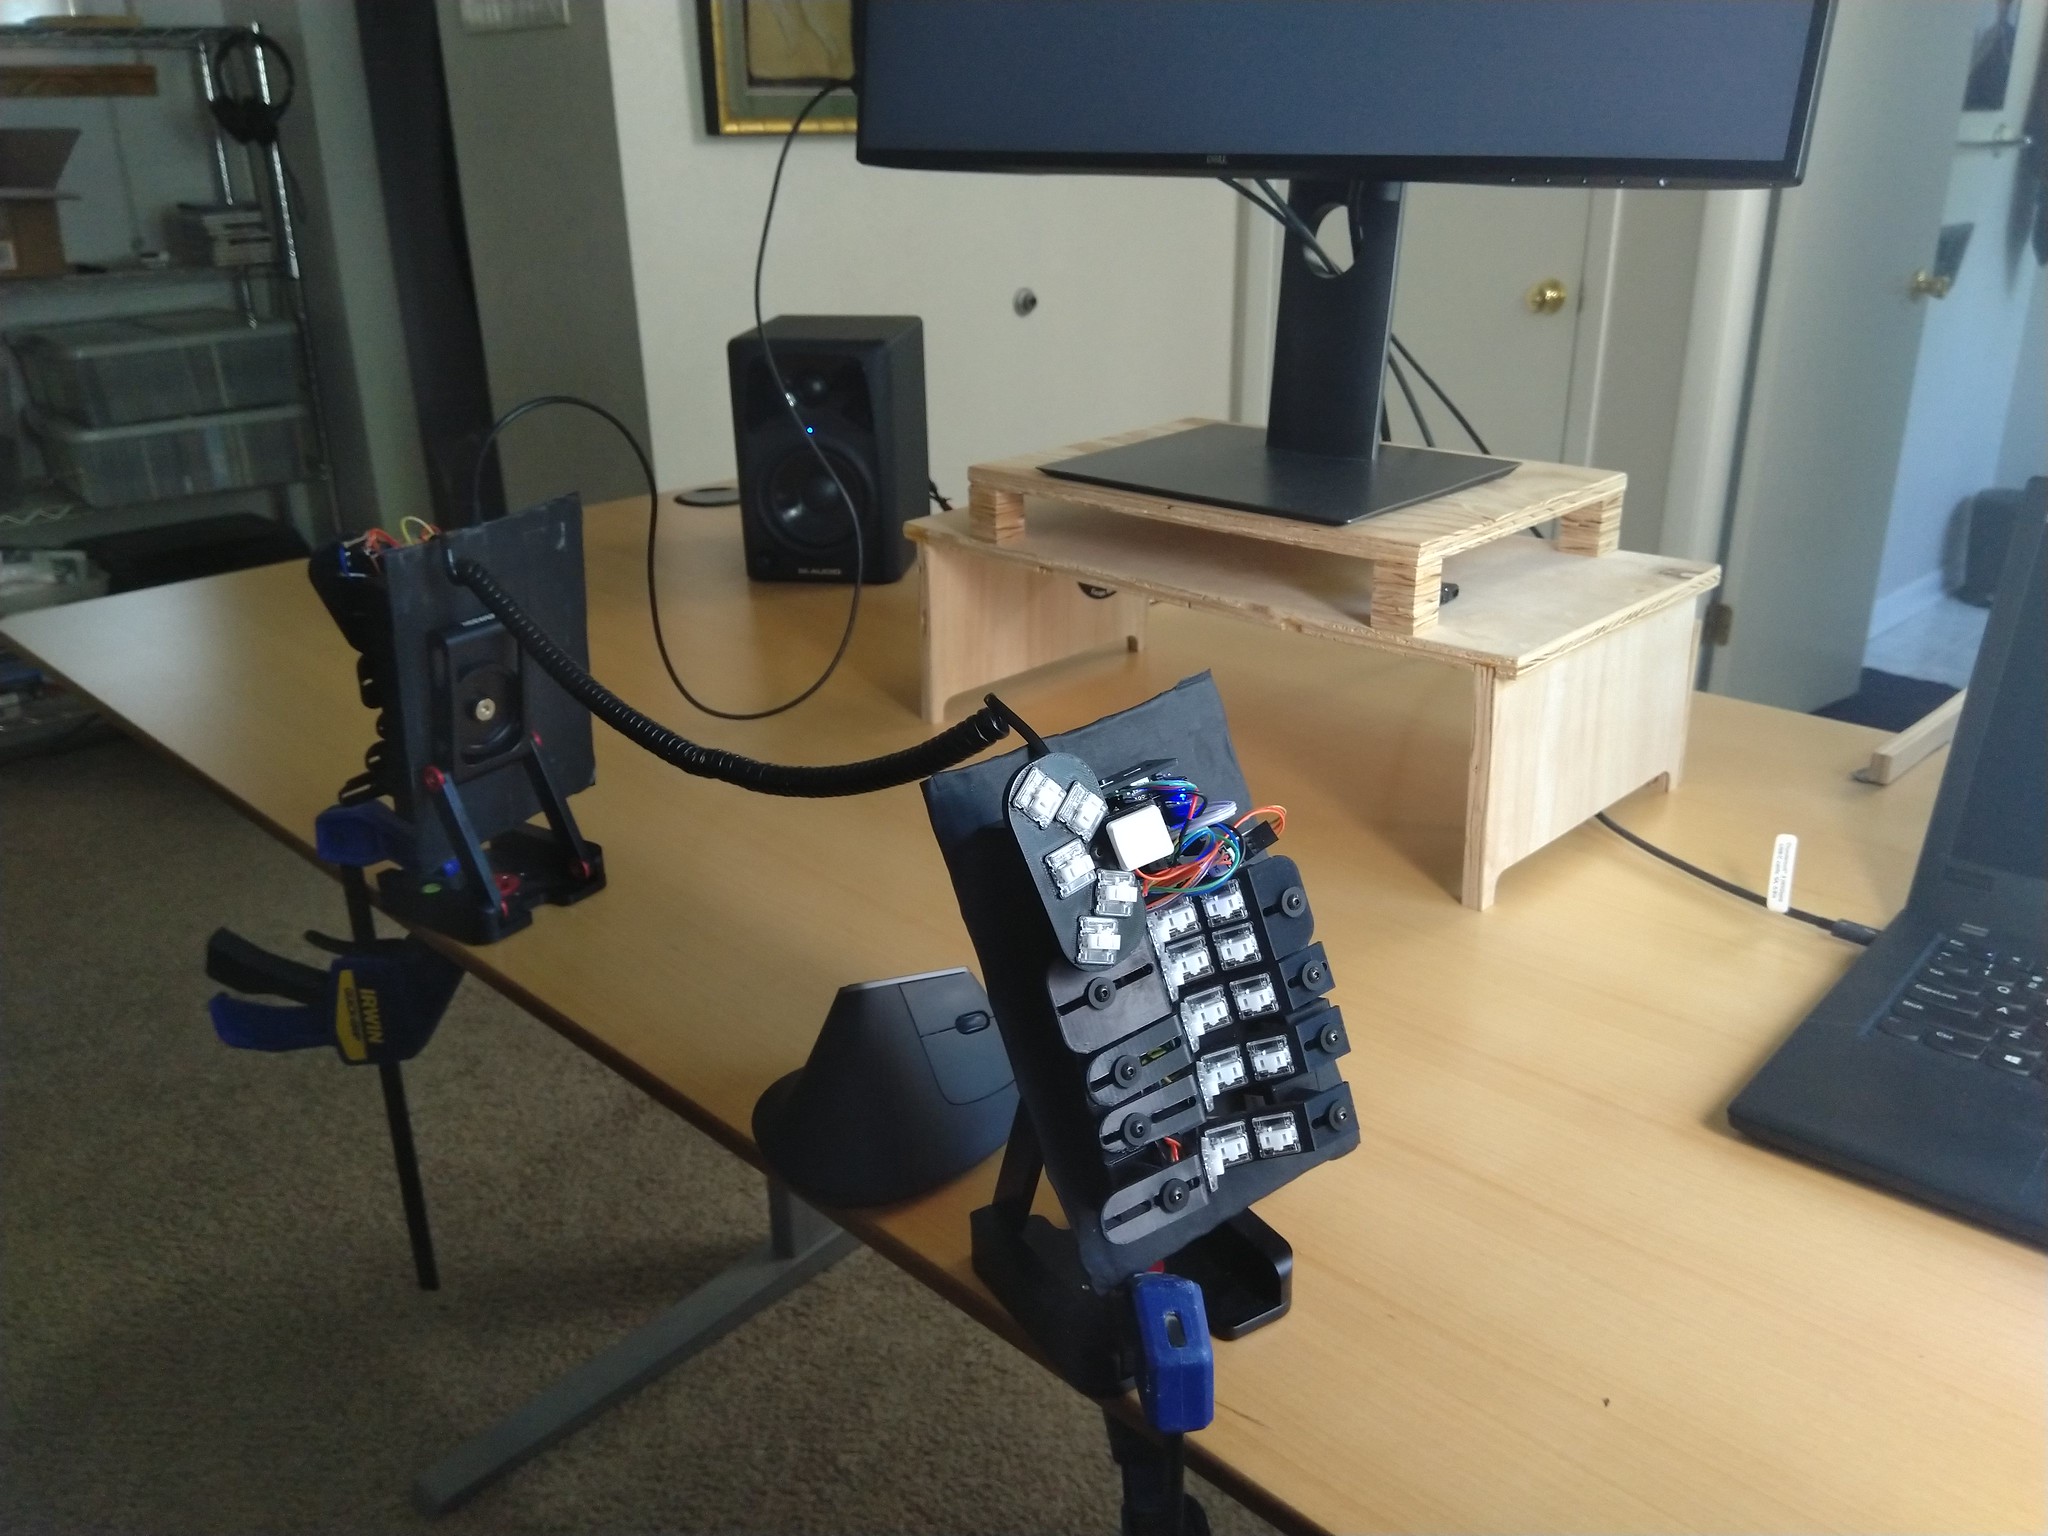
This version was completed with that same basic approach and I was either going to try to use it on my desk top or maybe mount it to the arms of my chair. But once I had the working version with the diamond-pattern metal base plate in hand, I had a eureka moment realizing I could easily and securly mount this to the camera stands I bought initially to tent my Keyboardio Model 01. That keyboard comes with a threaded insert in the base sized to match up with camera mounting gear which is absolutely brilliant. All keyboard designers take note, please. Every split keyboard should have that.

So I was able to mount this just by cutting a hole in the gaffer tape and running the bolt through the existing hole in the diamond plate pattern and tightening it down with a bolt and it worked great. I have nice fancy adjustable mounts (these are not at all DIY - video folks don't mess around when it comes to gear) and I can tent them anywhere from 0 degrees to full 90 if I want. Here's a video talking a little bit about this.
And one random ergonomic note is that the separate fingers and splay angle combined with the white key switch stems makes this thing look a lot like a skeleton hand, which I take as a pretty good indication of the bio-mimickry going on in the ergonomics of it.
So You Type Real Fast Now, Right?
Ha ha, no. This is a one-of-a-kind prototype. I can sort of barely use it but I am very very slow and very very inaccurate. But at the moment I've truly only spent a few minutes even trying. This is mostly a passion project and adopting it as my daily driver would be great, but I'm many dozens of hours of practice away from seriously considering that. That said, my keymap has undergone a fairly thorough overhaul as a result of the explorations involved with this project, so even on my daily driver ergodox, my layout is better now and I'm gradually reducing pinky usage and other straining movements. Also even on my ergodox which I've been using primarily since 2013 I'm just not very fast or accurate or consistent. 70-90 WPM ballpark. Keyboard ergonomics for me is an accommodation to reduce RSI of which I've had either mild or severe on and off again for years. Look for impressive WPM stats elsewhere.
DIY Keyboard Kit
The files for this are posted on prusaprinters.org if you are ambitious enough to attempt this. It is not at all to the level of documentation to expect not-me people to be able to successfully build one, but have at it if you are inspired.
Plans for next prototype
Circumstances in my personal life are likely to no longer afford time to work as much on this project going forward, but if by some means I am able to work on a third prototype, here's my todo list
- If the extreme tenting and floating arms/hands seems long-term viable, I will need to design and print a different connector for the thumb cluster so it can have its main plane be more horizontal when the keyboard is tented up to like 80 degrees
- Thumb cluster key layout itself may want to tweak slightly when tenting
- The PCB mount needs a redesign in light of metal base plate and magnets. I'll probably make a very simple rectangular box held to the plate with a magnet and that will help with a tidier wire layout and more stability when connecting/disconnecting the USB cable.
- might even get really fancy and try to have a top so it's not just a hood-open bouquet of wires :-)
- I'd like to make a chair arm rest mount. Possibly magnetic. This would also benefit from a long non-coiled RJ-9 cable that could go around the back of the chair instead of across the front where it is totally in the way.
- I have already found and bought some much nicer connectors for daisy chaining the columns. The plastic connector is more robust and snaps into place more solidly, and all the colors will match up nicely. It is more bulky than the dupont connectors though so it'll maybe need a bit more space to live under the keywells.
Thanks
I continue to be very grateful for people across the Internet helping me with this project: answering questions, providing feedback and encouragement, etc. I've posted to many slacks, subreddits, discords, github repos, etc to get help on this project. Especially check out Jan Lunge's Youtube Channel. You'll find a link to his discord there too.